Product Manual
How To Screen Printing T Shirts Most Popular | Detailed process
roHow to screen printing t shirts is a great way to print custom designs on t-shirts. It can be used to create unique and customized clothing for any desgin. Please refer to TeeNavi’s article below on how to silkscreen T-shirt printing for more details!
>>>> GET STARTED: 11 best quality types of print on T-shirt | Should not ignore
1. What is silk screening for t shirts?
Screen printing, also recognized as silk screening, is a manual technique for producing a custom t-shirt. It employs a silk screen that is applied to the t-shirt. The custom t-shirt printing design is then created by dragging brightly colored ink across the t-shirt. Screen printing is an excellent method for transferring a printable design onto such a T-shirt. A chemical process known as photo emulsion is used in the technique. While that concept may appear complex, the procedure is actually quite straightforward.
It takes some skill to do, and the results are best when done by an expert t-shirt company like TeeNavi. We not only have the knowledge and expertise but also the specialized equipment to produce a large batch of custom tees that will look fantastic. So, let’s get started on learning how to screen print a t-shirt!

>>>> GET IT OUT: 4 best print T-shirt high quality methods custom in 2023
2. The most detailed and simple how to screen printing t shirts at home
TeeNavi will guide you on how to screen print t shirts step by step in the most detailed and simple way. See steps in silk screen printing below!
2.1 Step 1: Choosing a T-Shirt design
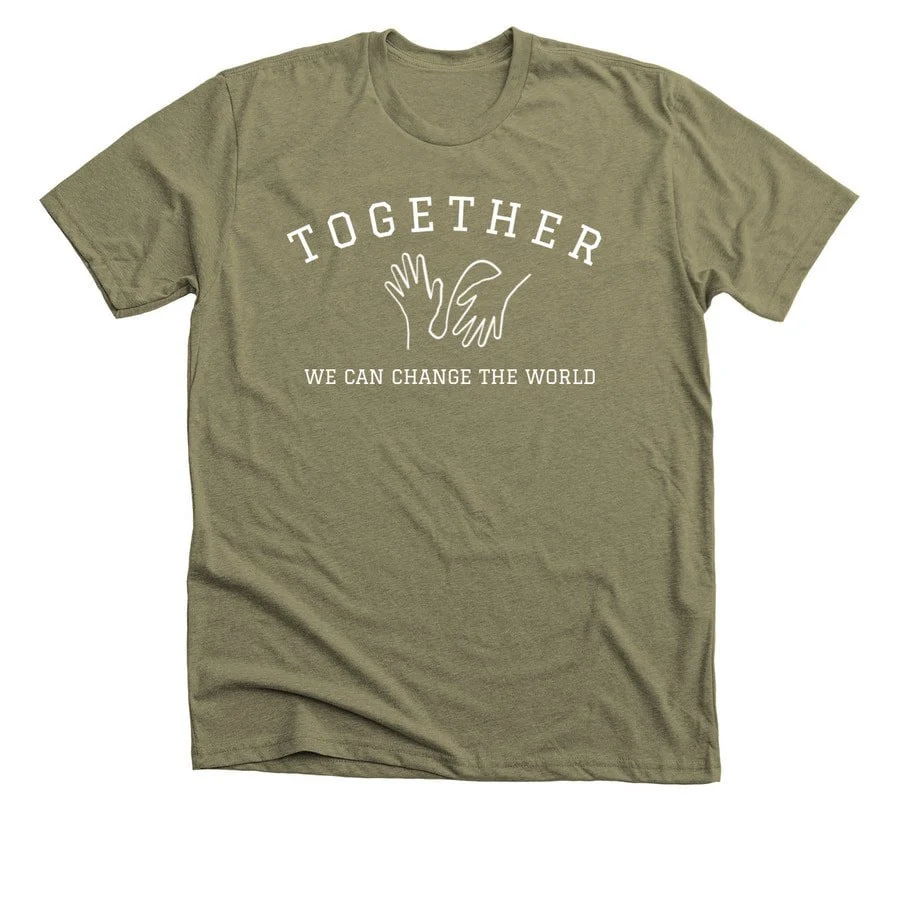
The first step in the process of how to silkscreen shirts at home is choosing a T-shirt that is plain, clean, and wrinkle-free. Laundering your tee with fabric conditioner or dryer sheets may prevent ink from setting in. To prevent wrinkles, lay the shirt on a flat surface. If your shirt has folds or wrinkles, this may interfere with the transfer of the design to the shirt. Iron the tee as needed to smooth the fabric. Next, you have to have t-shirt screen printing design ideas.
>>>> JOIN US: 5 standard T-shirt print sizes, correct technique few people know
2.2 Step 2: Make the frames
You needed frames to make the screens for printing. You take the image sizes and then decided to add a few inches of buffer space around them to get the frame sizes. The adult frame measures 16″x16″, the youth frame measures 12″x12″, and the small frame measures 7″x7″. This should give you enough space to work with the images on the frames later while still leaving enough space to tape offsides to prevent bleed-through.
The frames were made from pieces of wood. The larger frames were made from 2×2 stock. This results in a heavy, quality of good with plenty of lip to keep the ink contained when printing. You glue and screwe the pieces together after trying to measure and cut them. They are now ready for the screen to be installed.
2.3 Step 3: Putting the screens together
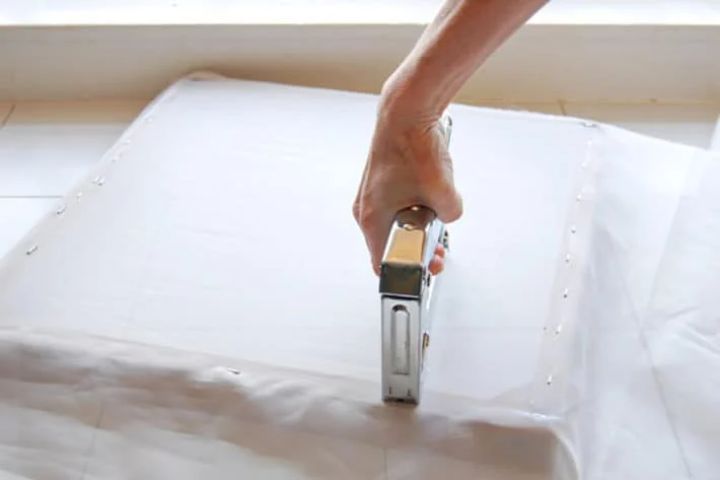
You use 110 mesh fabric as a screen material. You can find about a yard of this fabric for less than $10 on eBay. For each screen, cut a piece of fabric with enough eaves to wrap around the frames. Using a staple gun, you attach the display fabric to the frames. This part is easier when you have another pair of hands to assist you, because you must apply the screen under tension.
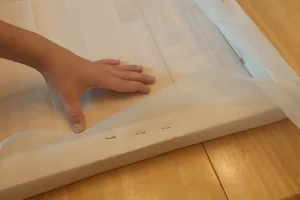
The simplest way you’ve found to tension the display is to pull it taut at the center of different sides of the frame and staple it in place. Then, rotate the chassis 90 degrees and do it again. Repeat the process, starting from the center point of each side and working your way out to the corners. You can reduce the possibility of inconsistent tension inside the screen by alternating sides and starting to move from the center out. Simply fold the screen as tidily as possible and staple it in place at the corners. Trim any excess to the frame’s edge, taking care not to cut or damage the display surface. This is a rather important step in silk screened t shirts, so you should manipulate it most meticulously and carefully.
2.4 Step 4: Make the photo emulsion
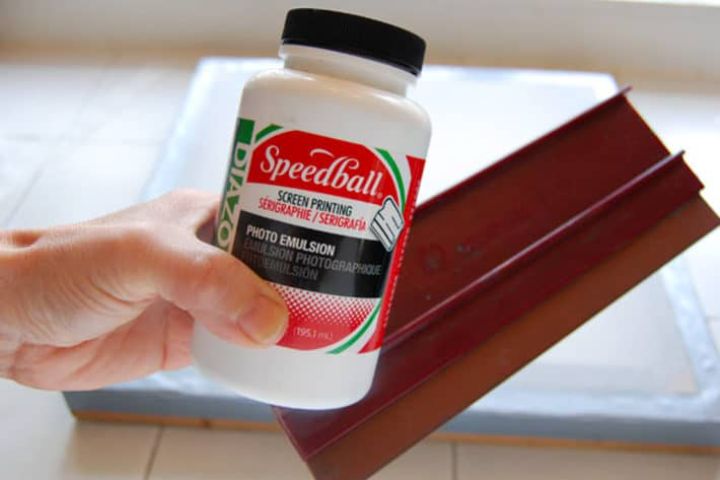
How to screen printing t shirts? You make your screens with Speedball photo emulsion. Mix the two bottles together according to the directions on the bottle to activate the photoconductive chemicals. Wear gloves because these chemicals could be harmful to your skin. After thoroughly mixing the photo emulsion, apply a smooth coat to one’s frame with a squeegee. To ensure an even, smooth coating, alternate between the inside and the outside of the frame. This was a particularly messy step. You are either using a lot of emulsions or pressing too hard through the screen. After encasing the screens, store them in darkness to dry. These must be kept in a dark place to avoid curing the image emulsion.
2.5 Step 5: Configure exposure lighting
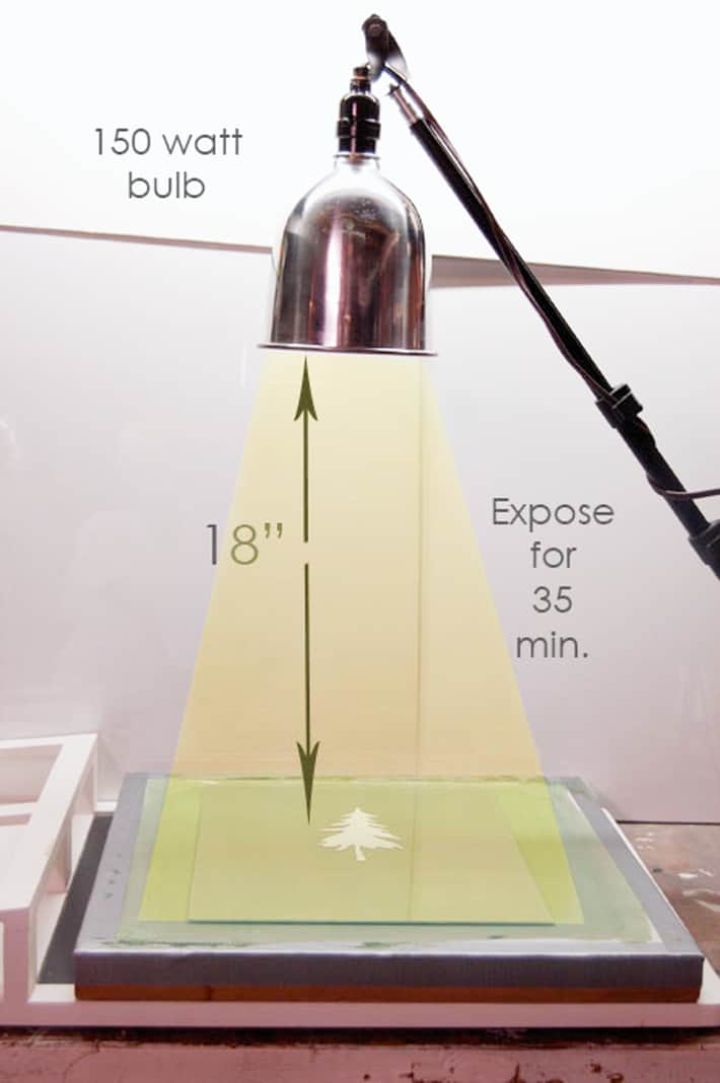
You should screw each foil pan, which will be your reflectors, to opposite ends of a three-foot-long scrap piece of wood. The extension cords were then hot glued in the center of the pans, and the cord was run to the center of the wood. You need to use an adapter to connect these to a powered extension cord. The extension cords in the center of each reflector pan were plugged into the light bulb adapters.
2.6 Create Transparency masks in step 6
The next step in the silk screened t-shirts process is to create a transparent layer. You need to print the designs on overlays to transfer your image to the screens. If your designs had been larger than standard 8 1/2×11 paper, you had to spread them across several pages. You put the pages together by aligning the overlapping images and taping them down with clear packing tape. You need also to use a black permanent marker to fill in some bare spots.
2.7 Step 7: Cleaning the frames
You should notice a color on the screen after the curing time has passed. The lighter shade indicates that the emulsion was blocked by the transparency print and did not clear. These lighter areas can be removed with cool water. The areas will clear in a few minutes. To force out the uncured emulsion, use the spray gun from your sink. Smaller detail areas may necessitate the use of a good bristled brush or an old toothbrush to remove it. Be cautious in small areas to avoid scrubbing away cured material. Examine your display by looking through it at a light source to ensure that the image areas are clear.
>>>> MORE: 6 great sublimation printing T-shirt materials | Selective fabrics
2.8 Step 8: Taping the frame
Now that your screen is ready, you must complete one more step prior to actually printing. Wrap the entire image in duct tape to keep printing ink from seeping through gaps and onto your material. Allow some space around your image, but ensure that all corners and nooks, and crannies are covered. Overlap the tape on the screen’s corners on both the front and back.
2.9 Step 9: Get your t-shirts printed
Your screen is now ready for use in shirt printing. To avoid bleeding through, place a board or add it inside the shirt. Simply align the screen on the tank top and dab some ink across the top of the screen above your image. Gently “butter” the ink from across the image area of the screen with your squeegee, but do not press down on it yet. After you’ve covered the image, use your squeegee to scrape the ink across the image as your “publish” stroke. If your image is bigger than your squeegee, as shown, reposition and repeat. If you want to implement the ink thicker, make more strokes. However, if you have small details and “print” strokes too many times, you may have some bleeding through this in your print.
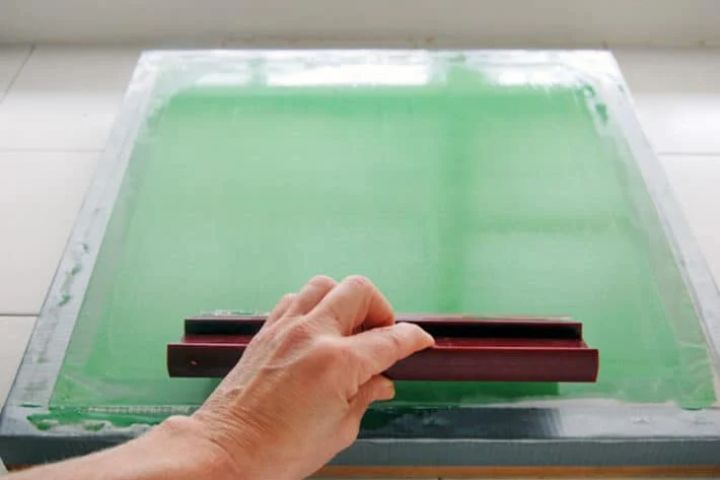
Alignment is critical; take your time. Overprinting can wash out detail in your image, so don’t go overboard. Furthermore, while fine details are possible, a simpler design simplifies the process. This is the final step to perfecting how to screen print t-shirts at home. You’ve got a custom t-shirt with your favorite print by easy silk screening at home!
3. How to screen printing t shirts by professional factories
How to get started screen printing t shirts in factory? Below is the specific process of how to screen print on t-shirts unit to produce the best quality printed T-shirt, view the steps here!
3.1 Select and print an image
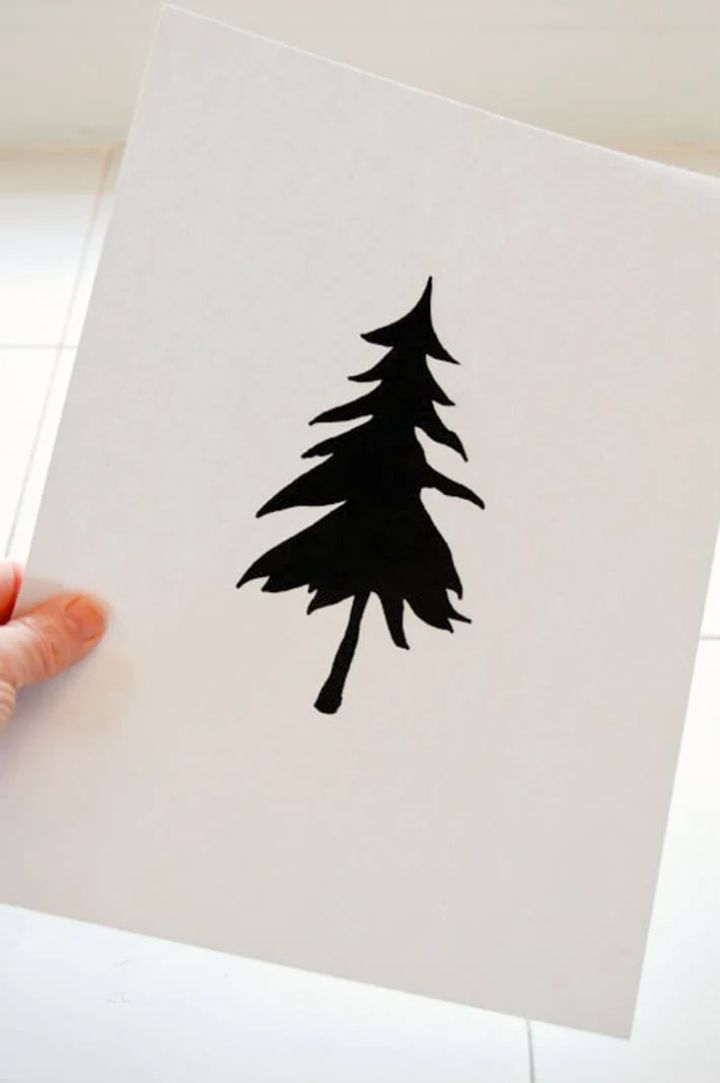
You should choose the image you would like to print. Try a silhouette and a single color as your first silkscreening subject. Something simple, or simple lettering, is ideal.
3.2 Prepare the print screen
How to start screen printing shirts? After you’ve posted your design and approved the mock-up, it’s period for craftsmen to get to work. The screen is our primary tool for creating custom silk-screened t-shirts. It resembles a screen door on a house, but the one we use is much better quality and has significantly smaller holes.
The display is protected in a made of wood and then encased in an emulsion layer to prevent ink from passing through. We then prepare the screen so that it shows a reverse bad of your design. The color of the screen is yellow, but this has no bearing on the design.
We do a few inner things to have everything prepared for printing after the screen is created and your design is transferred onto it. This explains why the procedure takes so much longer than printing a t-shirt digitally. Everything must be completed by hand.
3.3 Color mixing process
The next step in how to screen printing t shirts is the stage where your t-shirts begin to take shape. We use special ink cartridges and combine them until we get the exact colors you want to have on your t-shirts. Our inks are extremely high-quality and designed to last a very long time. They’re also quite thick, so the design will stand out in terms of color and thickness. After we’ve finished blending and matching in our color laboratory, we’ll begin the silk-screening process.
3.4 Pressing
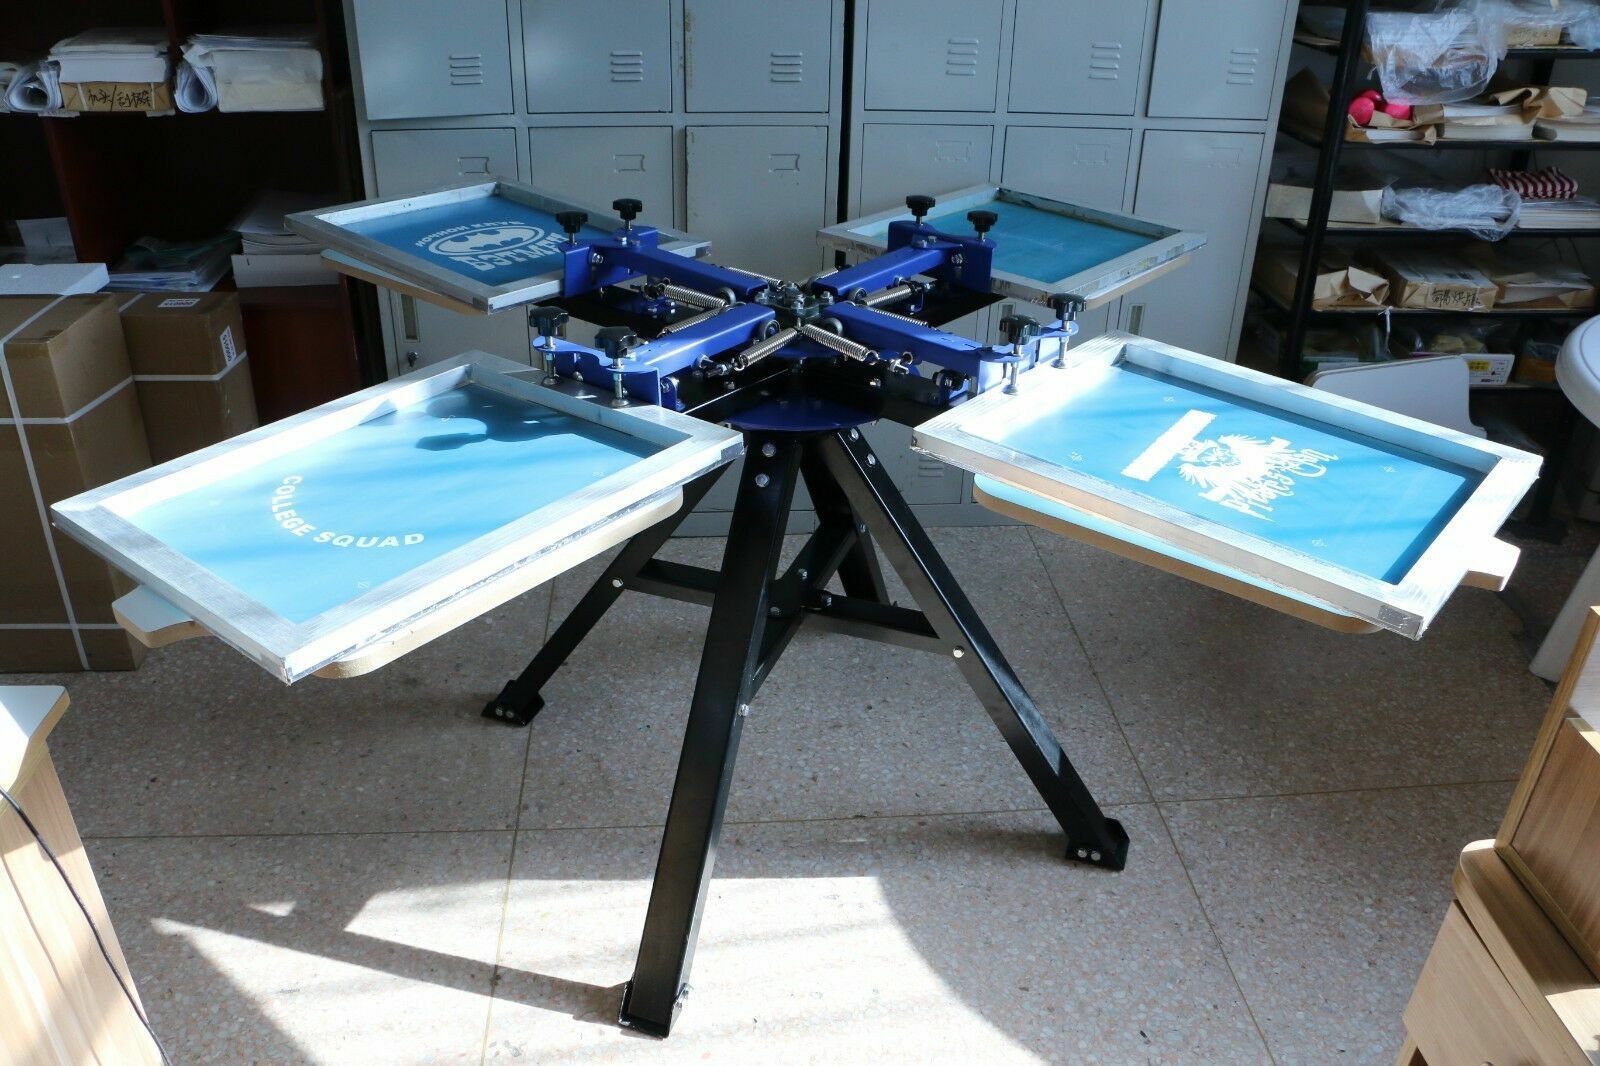
To make your order, we are using a big metal tool known as a press. It weighs a few hundred pounds and is circular in shape. There are 12 “arms” with flat areas where the wooden silk screen is placed. It’s like an assembly line, where after one t-shirt is finished, the wheel does turn, and the next blank t-shirt is silk-screened. We start by stretching a blank shirt over a flat device that looks like an ironing board. The producer uses lasers to align the tees so that the design is in the same place whether you order 10 or 10,000 t-shirts.
We will decrease the screens onto another t-shirt. Then pour the custom ink on it and start moving the ink through one end of the t-shirt to the other with a 2-foot-long rubber squeegee (similar to the ones you see at gas stations). As the ink moves across the screen, the design area absorbs the ink. Unless your custom tee requires more than one color, we may have to repeat the process on each shirt a second or third time.
3.5 The drying process
The final step in how to silk screen t shirts is to dry the product. We then place the t shirt onto a conveyor-type machine that runs it under a source of heat after we’ve applied the ink. This instantaneously dries the ink as well as causes it to become permanently embedded in the t-shirt. At the end of the line there will be an inspector to check each shirt to make sure it matches the standard.
When an order is finished, we carefully package it and send it to our shipping area, which is carefully guarded and the pickup is coordinated with the shipping company of your choice.
4. Equipment needed for screen printing
A screen printer must have the proper tools for the job in order to produce a clean, sharp print. In this section, we’ll go over each piece of silkscreen equipment and explain what function it serves during the printing process.
4.1 The ink
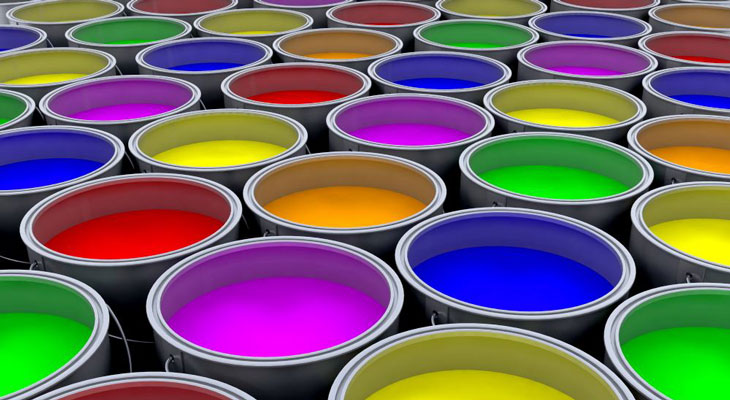
The ink, pigment, or paint is pushed through the mesh screen and onto the product to create a colored imprint of the stencil design. Choosing ink requires much more than simply selecting a color. There are numerous specialty inks that can be used to achieve various effects on the finished product. A printer, for example, may use glittery inks, texturized inks, or puff inks to achieve a distinct look or feel. The printer will also consider the type of fabric being screen printed, as some inks are better suited to certain materials than others.
4.2 The silkscreen
In silk screen printing, the silk screen is a metal or wooden frame with a fine mesh fabric stretched across the top. Traditionally, this mesh was made of silk thread, but polyester fabrics, which offer the same performance at a lower cost, have largely replaced it. The mesh thickness and thread count can be customized to match the texture of the surface or fabric being printed, with smaller spaces between threads allowing for more detail in the print. The screen is ready to use as a stencil after it has been coated in emulsion, and exposed. It can be washed and reused after the silk printing process is completed.
4.3 Screen printing press
4.4 The washing station
After use, the screens must be washed to remove all traces of emulsion so that they can be reused for future prints. To remove the emulsion, some larger printworks may use large tubs of special cleaning fluid or acid, whereas other printers simply use a water trough or sink and a power hose.
5. Difference between silk-screened and other types
Below is a table comparing the pros, cons, and prices of t-shirt screen printing and other printing techniques.
| Screen printing | DTG | Heat transfer | |
| Advantages |
|
|
|
| Disadvantages |
|
|
|
| Cost |
|
|
|
6. Order now custom printed t-shirts at TeeNavi
TeeNavi has worked in the trading market for 6 years. However, we take pride in having provided quality items to over 100,000 clients worldwide. We are on a mission to incorporate precious human bonding into our designs, sending a powerful message of family love, companionship, loyalty, and a variety of other things. We are strong in the production of printed t-shirts with a variety of designs and appreciated quality.

Silk screening is best for team names, text on t-shirts and company logos. The ink is raised and has a high-quality appearance and feel to it. Give us a call if you’re ready to have some fantastic-looking custom t-shirts made. TeeNavi has a large selection of specially made t-shirts and hoodies and can even assist you with the design stage!
7. Notes on T-shirts when silk-screen printing
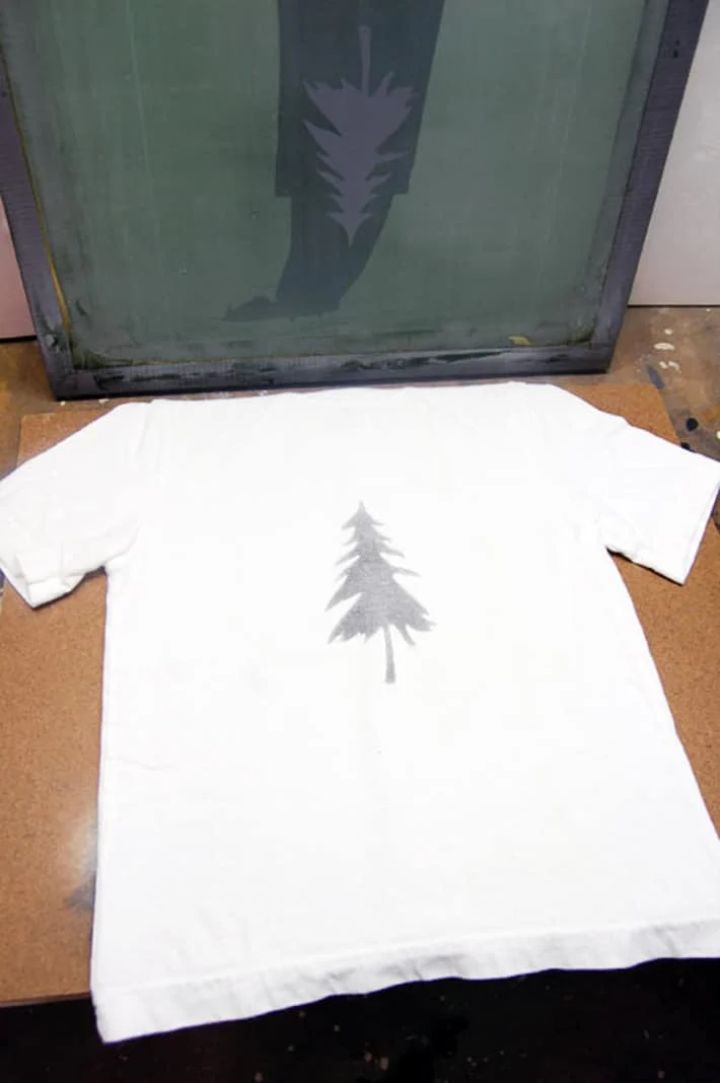
While printing technology works well on almost any textile item, some t-shirts work better than others. Even though other fabrics are commonly used, 100% cotton tees are usually regarded as the best t – shirt for screen printing. As a beginner making how to screen printing t shirts, it’s usually preferred to stick with 100% cotton t-shirts because they’re the easiest to work with and produce the best results. Here are some notes that you need to pay attention to when silk screen printing:
- When printing you need to have the screen directly facing the shirt
- After printing is finished, you need to rinse the screen under cool running water. Proceed to dry the shirt and keep it as flat as possible to avoid smearing the ink.
- Besides, do not paint or screen printing ink to dry, which will damage the screen.
8. Frequently asked questions
During the purchase process, TeeNavi’s customers had many questions and questions that needed to be answered. We have compiled all the questions to answer for customers to better understand this type of screen printing. Here are detailed answers to your questions:
8.1 How to screen printing t shirts at home?
What do I need to start screen printing t-shirts? What you’ll need is as follows:
- Ink for screen printing (white)
- Kit for Photo Emulsion (includes emulsion remover)
- Unadorned t-shirts.
- Squeegee (various sizes) (multiple sizes)
- 20 x 24 aluminum screen
- The palette knife.
8.2 Is it hard to screen print shirts?
The most significant drawback of screen printing is how challenging it is to print only a few shirts. Most screen printers won’t print fewer than 20 shirts at once due to the extensive setup required, which is not ideal if you only need shirts for your 10-person softball team or a family reunion. For printing photorealistic graphics, screen printing is also more difficult. It requires meticulous color blending and a lot of screen burning to succeed. If you have money, you can choose DTG to bring a sharper image to the shirt.
Screen printing is a process that can be used to print designs on T-shirts. Hopefully, with the useful information that TeeNavi gives you above, you can understand how to screen printing t shirts. Stay tuned for our other great articles to learn more about t-shirts and t-shirt combinations!
>>>> CONTINUE:







Mi Myth is the Commerce Editor for TeeNavi, specializing in curating recommendations for apparel, accessories, and home living. As the dedicated editor, Mi Myth diligently explores and tests a wide range of products, ensuring that her gift guides feature the latest and most promising items in the realms of clothing, accessories, and home essentials. When not immersed in the world of fashion and lifestyle, Mi Myth enjoys quality time with her two rescue dogs.
Related Posts
How To Make T-shirts With Heat Press In 2024 | Easy And Effective
Ever wondered how to make t-shirts with heat press machine? If yes, then don’t skip...
Aug
Top 13 Best T-shirt Material For Customize 2024
Among the many materials on the market today, it is not difficult to find the...
Aug
Top Best Fabrics For The Print T-shirt High Quality Of 2024
When it comes to finding a print T-shirt high quality, you have a few different options...
Aug
10 Light Material T-shirts For The Coolest In Summer 2024
Light material T-shirts are always chosen by many people to buy in the summer. It...
Aug
14+ Best Sports T-shirt Fabric Types | Best Material For Workout
Sports t-shirt fabric is becoming more popular every year. What’s the best fabric for workout...
Aug
3+ Highlights Of Tube T-shirt Fabric In Garment You May Not Know
Tube t-shirt fabric is popular in the garment industry because of its many advantages. It...
Aug