Thanksgiving Ideas
DIY How To Make Fabric Pumpkins With 8 Easy Steps
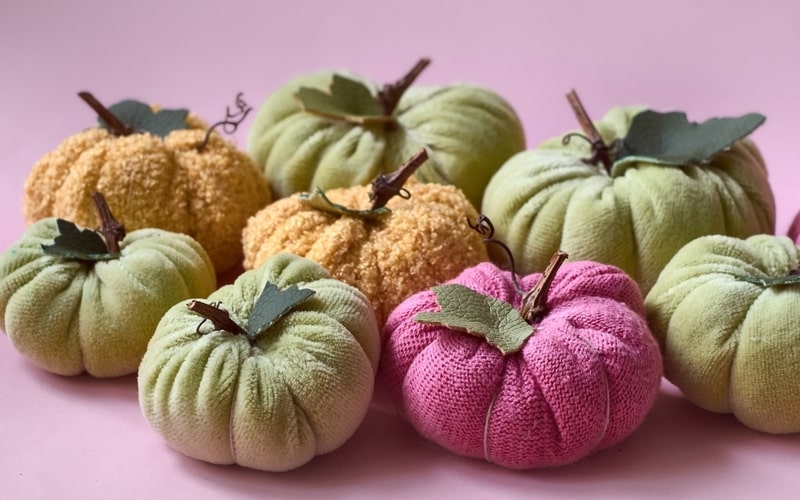
Thanksgiving fabric pumpkins are a very popular decorating idea that not only creates a cozy atmosphere but also is the highlight of your decorations. However, not everyone knows how to make fabric pumpkins even though it is very easy to do. The following article will send you the most specific instructions. Let’s take a look with TeeNavi!
1. Ingredients you need to make fabric pumpkins
Thanksgiving fabric pumpkins are not only easy to make, but they also add a warmth and coziness touch to any space. Before we begin with how to make fabric pumpkins, make sure you have the following ingredients ready:
- Fabric (You can new fabric or reuse fabric from a shirt, coat, or sweater). For reference, for large pumpkins, you should use a piece of fabric 8″ x 20″. If you plan to make a smaller pumpkin, use a piece of fabric 6.5″ x 12.5″
- Needle (You should use a tapestry needle or upholstery needle)
- Embroidery floss
- Cotton or fiberfill stuffing
- Faux stems or leaves
- Felt, wooden dowel cut in pieces or small branches to make stems for your pumpkins
- Hot glue gun
- Glue sticks
- Scissors
>>>> CLICK NOW: DIY how to make pumpkins out of wood easy
2. How to make fabric pumpkins
Below are the 8 steps in how to make pumpkins from fabric for Thanksgiving that you can refer to:
2.1. Press and cut out fabric
The first step for how to make fabric pumpkins for Thanksgiving is pressing and cutting out your fabric. If necessary, press your cloth to get rid of any creases. Next, cut your cloth into a rectangle that is roughly twice as long as it is wide. (If your piece of fabric isn’t the right size, you have some wiggle room because the measurements for these pumpkins are not exact). Widen the pumpkin to make a taller one. Lengthen the pumpkin to get a wider one.
>>>> READ NOW: How to store Thanksgiving leftovers: The ultimate guide
2.2. Sew the pumpkin side seams
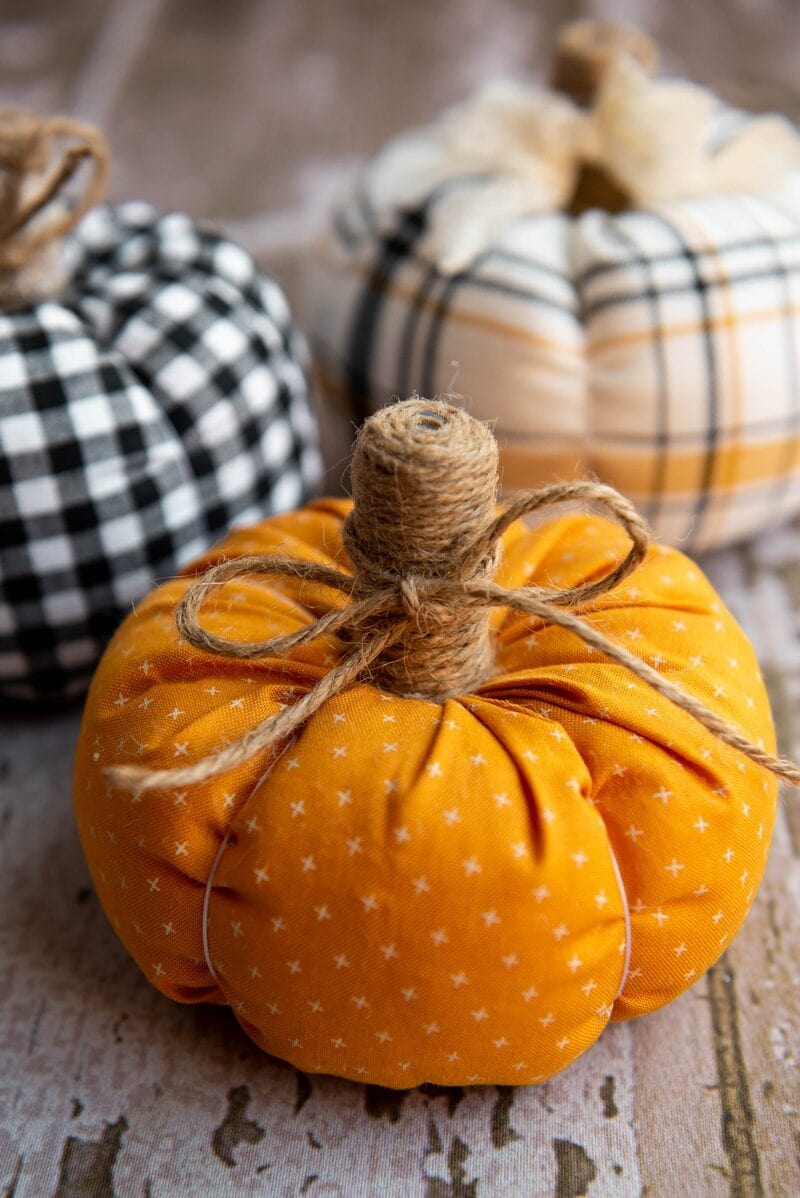
Once your fabric rectangle is ready, fold it in half, right sides together to create a rough square shape. After pinning the edges together, sew a seam down the side opposite the fold with 1/4″. This is also the second step in how to make fabric pumpkins.
2.3. Sew a gathering stitch around one opening
With this step on how to make pumpkins from fabric, you should hand-stitch a gathering stitch around what will be the bottom of the pumpkin. First, you leave the fabric inside out. Using a foot of thread, thread your needle and tie a large knot at one end. You can double up your thread or use a stronger-weight thread, depending on the fabric.
Ensure that your knot is on the inside, push the needle 1/4′′ from the edge on the wrong side of the cloth first. You should only stitch through one side of the fabric “tube”; avoid sewing the opposite side. To provide a little extra reinforcement (if the knot is small and tries to pull through the fabric at a later time), you can pull the needle back through the right side and then down to the initial knot placement.
After that, you keep the 1/4′′ seam allowance and begin sewing a gathering stitch around the outside. In case you don’t know what a gathering stitch is, it is just an in-and-out stitch. Thus, you go down one side and up the other side, down one side, up the other, and continue repeating it. So, you have completed this step!
>>>> REFERENCE NOW: How to store a pumpkin pie: Tips for keeping it long lasting
2.4. Close the opening and tie off thread
Once you’ve sewed all the way around the edge, let’s cinch the pumpkin closed by pulling the thread. Insert your needle back through a few of the gathers while you hold the thread tightly with one hand. Repeat this a few times in different directions to provide more reinforcement. Then you tie a knot, stick through the gathers a few times with the needle, and cut the thread. That’s all there is to do in this step of how to make fabric pumpkins for Thanksgiving.
2.5. Stuff the pumpkins and sew the top closed
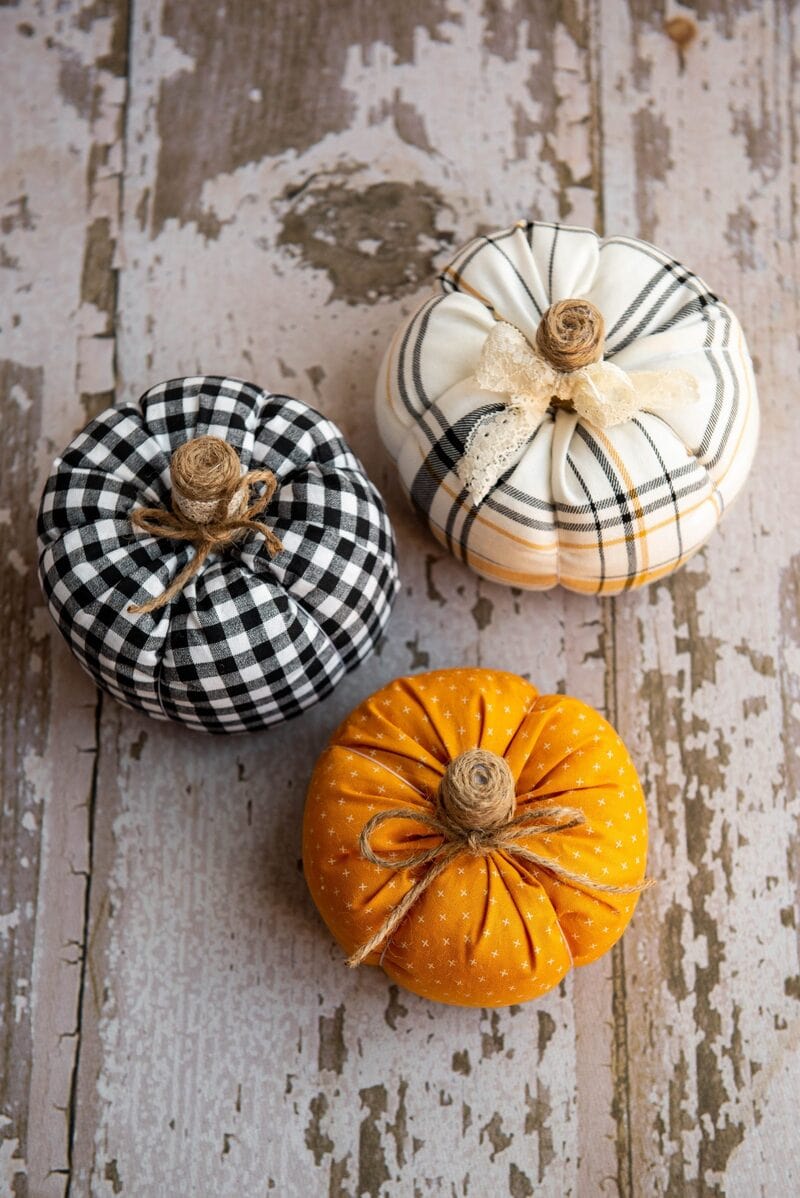
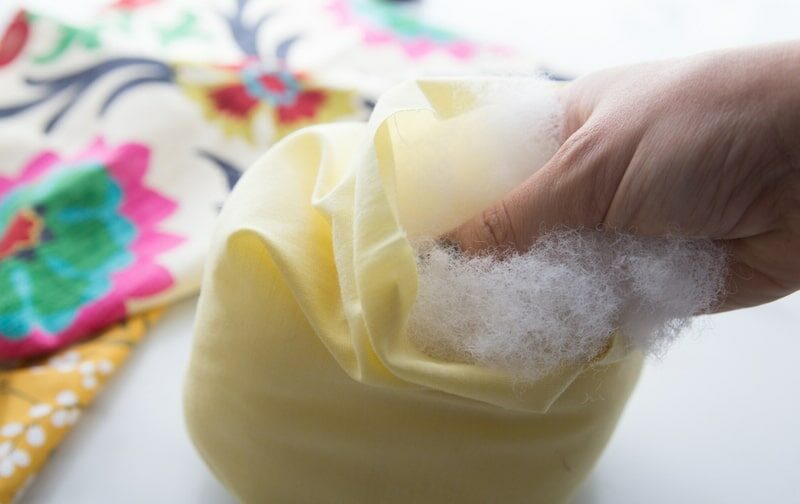
What will be the next step in how to make fabric pumpkins? That’s stuffing the pumpkins and sewing the top closed. Fill your pumpkin with fiberfill until it reaches a comfortable fullness. You should avoid overpacking as it will complicate the next steps. Once filled, you sew an additional gathering stitch to close the top. Repeat the same gathering stitch procedure as before to strengthen and close the top of the pumpkin.
2.6. Sew grooves on the pumpkin
An important next step in how to make fabric covered pumpkins is sewing the grooves. First, you thread your tapestry needle or any larger needle with embroidery floss or a thread that is similarly strong. Choose a contrasting color that helps give a little extra definition. Make sure to tie a sturdy knot on one end, going larger than usual to prevent it from pulling through the pumpkin. You push your needle all the way through to the center, starting at the bottom. If your knot starts to slip through, you should move over a centimeter and push the needle back down to the bottom.
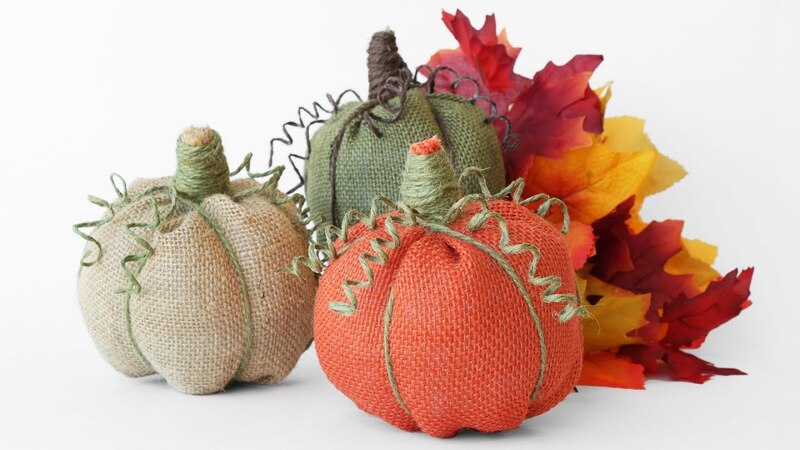
Then, you will pull the knot away from the edge a little and tie the strands together in a knot. After securing your thread, create the first “groove” along the seam to hide it effectively. By pulling the thread along the seam on the exterior of the pumpkin. Push the needle down the top’s center, reach the bottom, and tightly pull it.
Continue to create grooves in the pumpkin by pulling the needle through the center of the pumpkin every few inches. You place the thread along the outer surface and push the needle down the center again. Remember to keep holding the thread tight for each groove. If it slips, you should adjust tightness after making the next groove. After creating the last groove, you tie a large knot to secure the thread.
2.7. Create stems and leaves
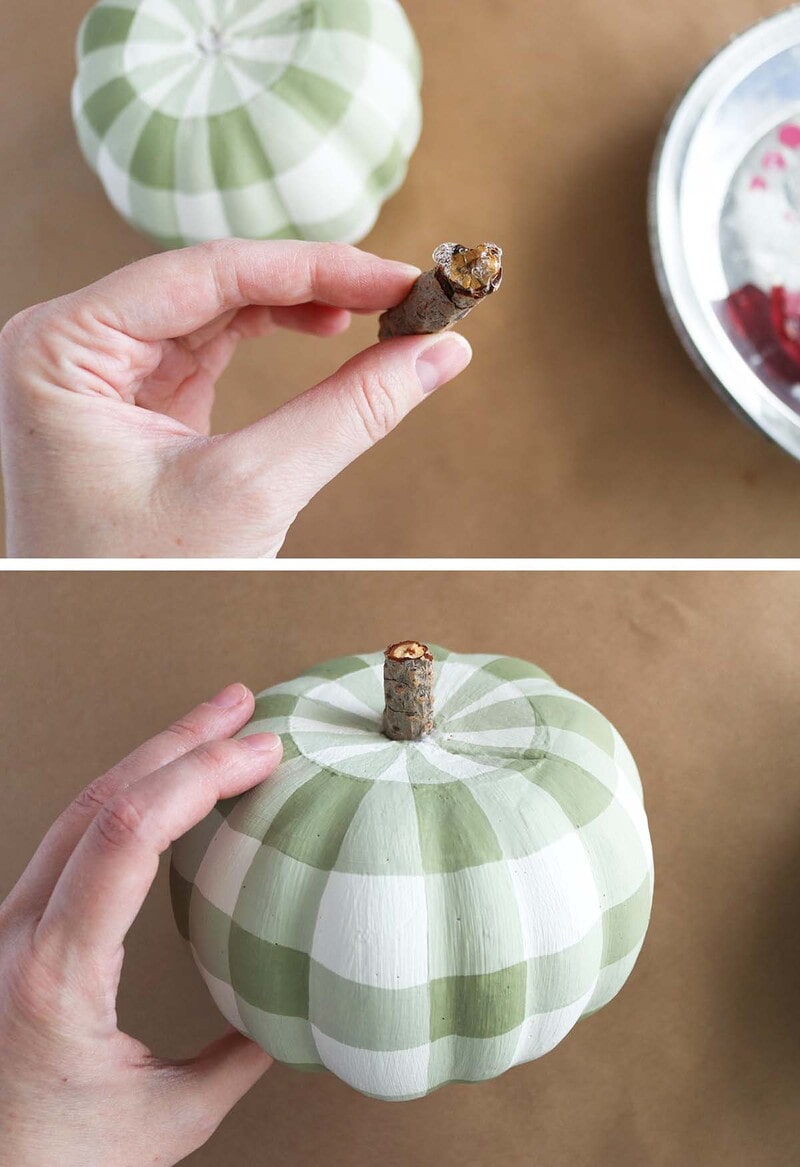
There are multiple options available for stems that you can choose from. One option is to attach a small branch or wooden dowel by using hot glue. Another option is to create stems using strips of rolled felt, which appears to be the simple method. You craft a felt tube, leaving one side open, and then turn it inside out and fill it with fiber fill. Regardless of the stem you prefer, using hot glue seems to be the easiest way to attach it to your pumpkin.
For the leaves, you can cut out 2 leaf shapes from a green fabric of your choice. You sew or glue around the edges and leave a small opening. Apply light stuff polyester fiberfill or scrap fabric to it. Sew the opening shut and attach it to the base of the stem, either by sewing or gluing it. So, this step in how to make fabric pumpkins is done!
2.8. Finishing your fabric pumpkin
So we have come to the final step for how to make pumpkins out of fabric! In this step, you need to cover the bottom of the fabric pumpkin with felt. You cut out a small circle of felt. Then you attach it to the bottom of the pumpkin where the threads and gathers show. So, that’s all you need to do!
3. FAQs about how to make fabric pumpkins
These are 3 frequently asked questions during the process of how to sew a fabric pumpkin for the Thanksgiving season:
3.1. How to build phony pumpkin stems?
This is the first and also a common question about how to make fabric pumpkins and stems. Some methods that you can apply to create fake pumpkin stems include:
- Small branch: An easy way to create pumpkin stems is to just use a small branch or large stick that you picked up from outside the yard and cut it into a pumpkin-sized stem.
- Brown paper bag: You can also build a fake stem from a brown paper bag. Just twist the paper until the shape looks right. Then, you trim the paper stem and add glue to help the paper stem hold its shape.
- Modeling clay: Another way is using a bit of clay to create the shape of the stem.
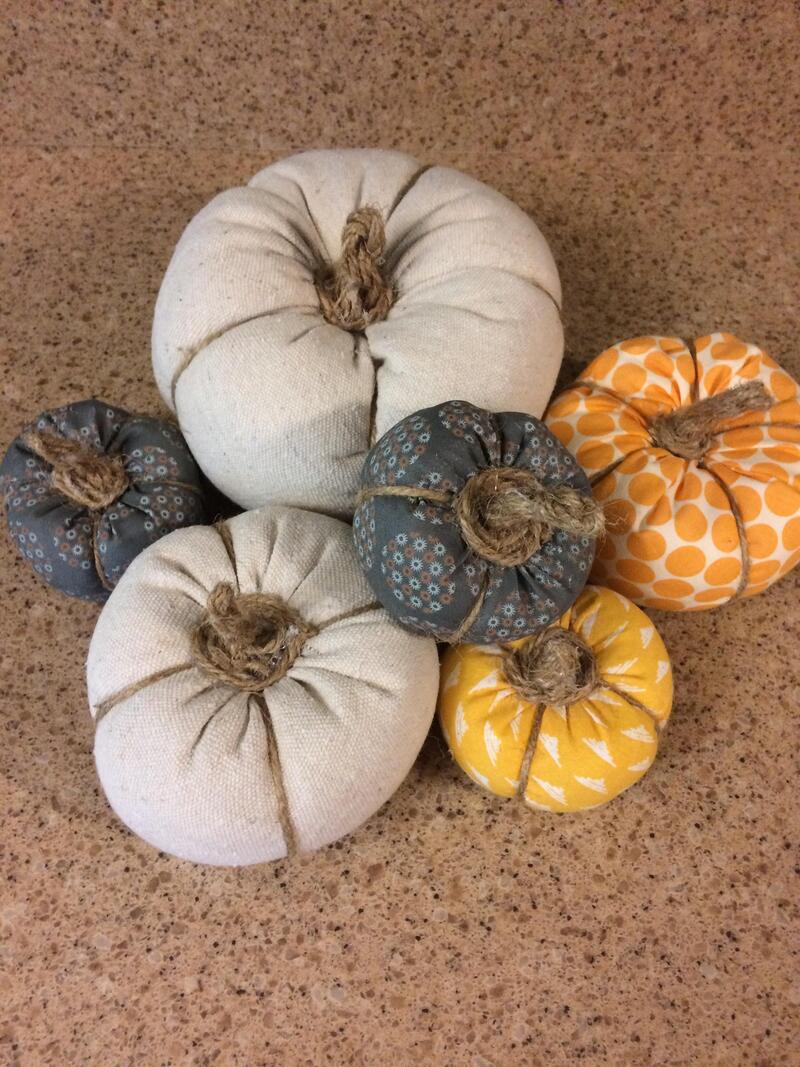
3.2. Can a pumpkin be wrapped in fabric?
Yes, a pumpkin can be wrapped in fabric to create a fabric pumpkin. This is also a popular craft project during the fall and Thanksgiving seasons. But the time that you can use it for decoration depends on the kind of pumpkin that you choose to cover with fabric.
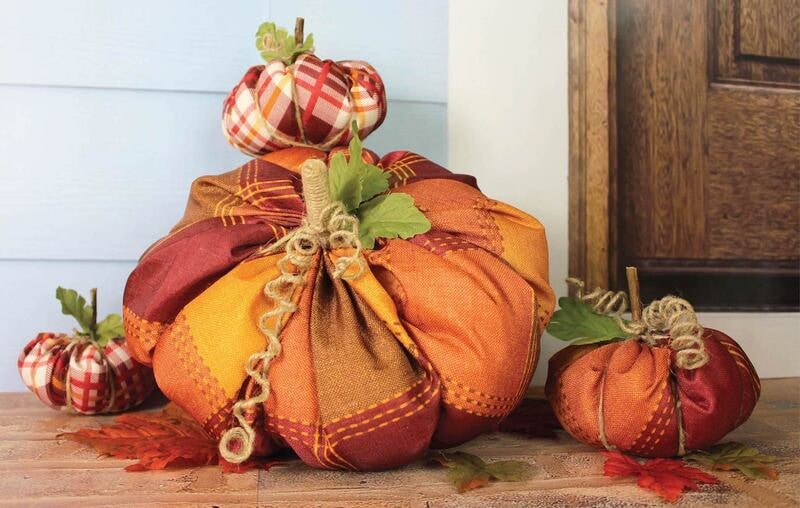
3.3. How to make fabric pumpkins without sewing?
How to make fabric pumpkins without sewing for Thanksgiving is the last frequently asked question. The side seam is the only part that needs to be sewed. However, it can be easily done using hot glue, or fabric glue to secure the seam. Nonetheless, you still need to hand stitch the basting stitch at the top and bottom of the pumpkin. Because it is the simplest way to achieve the desired rounded shape.
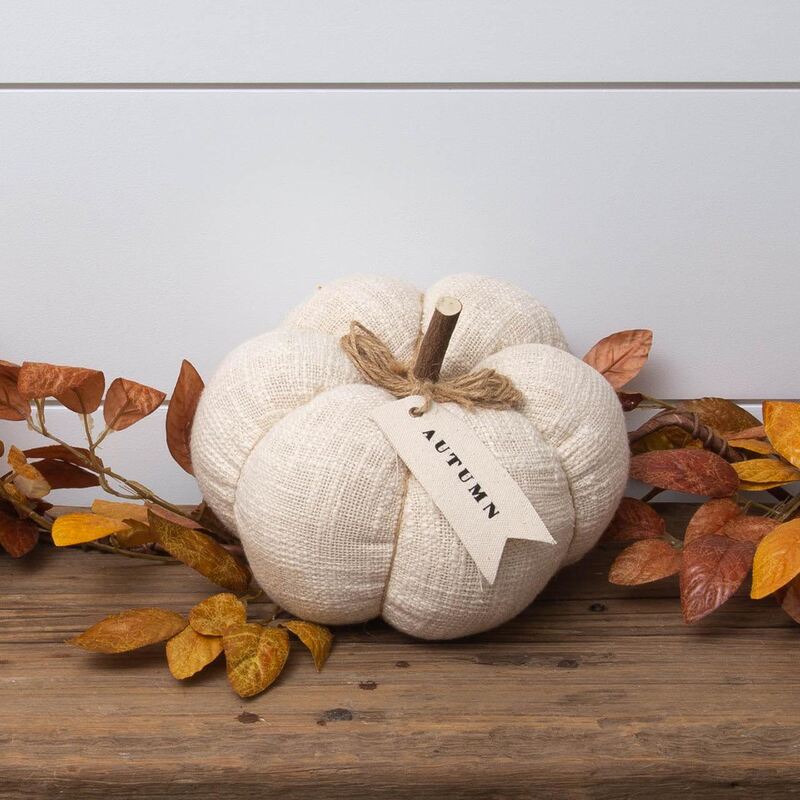
The above article gives you a guide on how to make fabric pumpkins and frequently asked questions that you can refer to. We sincerely hope that this article will assist you in creating beautiful decorations during this Thanksgiving season. If you have any inquiries, please contact TeeNavi immediately!
>>>> RELATED TOPIC: How to make a cornucopia for Thanksgiving: 10 Step by step







I’m Jennifer Tran, a helpful staff member at TeeNavi. My expertise lies in providing valuable advice on gifts and experiences for special occasions such as Halloween, Christmas, and Thanksgiving. I enjoy suggesting memorable experiences, thoughtful ideas, and unique gifts. As a dependable and supportive colleague, I’m always ready to lend a hand when it comes to selecting gifts for holidays.
Related Posts
How To A Make Turkey Stock From Leftovers: Try It Now
To master the art of how to make a Turkey stock, begin by saving your...
Dec
How To Store A Pumpkin Pie: Tips For Keeping It Long Lasting
For those who primarily bake fruit pies, understanding how to store a pumpkin pie overnight...
Dec
How To Store Thanksgiving Leftovers: The Ultimate Guide
Are you not sure how to store Thanksgiving leftovers properly? Are you wondering how long...
Dec
DIY How To Make Pumpkins Out Of Wood Easy
Looking for a creative and budget-friendly DIY project for this fall? TeeNavi brings you an...
Dec
25+ Unique And Easy DIY Thanksgiving Decorations Ideas
Decorating yourself helps you express your creativity and enjoy the process of creating something special...
Dec
25+ Easy Thanksgiving Crafts For Preschoolers Free
Let’s prepare to enjoy the season of gratitude and togetherness with a delightful selection of...
Dec