Thanksgiving Ideas
DIY How To Make Pumpkins Out Of Wood Easy
Looking for a creative and budget-friendly DIY project for this fall? TeeNavi brings you an engaging guide on how to make pumpkins out of wood, perfect for autumn decor. All you need are some leftover wood scraps and a piece of a broken tree branch to get started. Follow along for easy-to-understand, step-by-step instructions below.
1. What you need for DIY pumpkins out of wood
For those interested in learning how to make pumpkins out of wood, gather the following materials:
- Eight 1″x2″ wood pieces, ideally in a variety of shades for a more natural look.
- Two 1-1/2″x3/4″ wood strips provide structural support.
- A single 2″x4″ wood piece, measuring 6″ in length, for the base.
- Wood glue for secure bonding.
- Nails for additional reinforcement.
- 80-grit sandpaper to smooth out rough edges.
- A tree branch from your yard, which will serve as the pumpkin’s stem.
- A 2″ wood screw for attaching the stem.
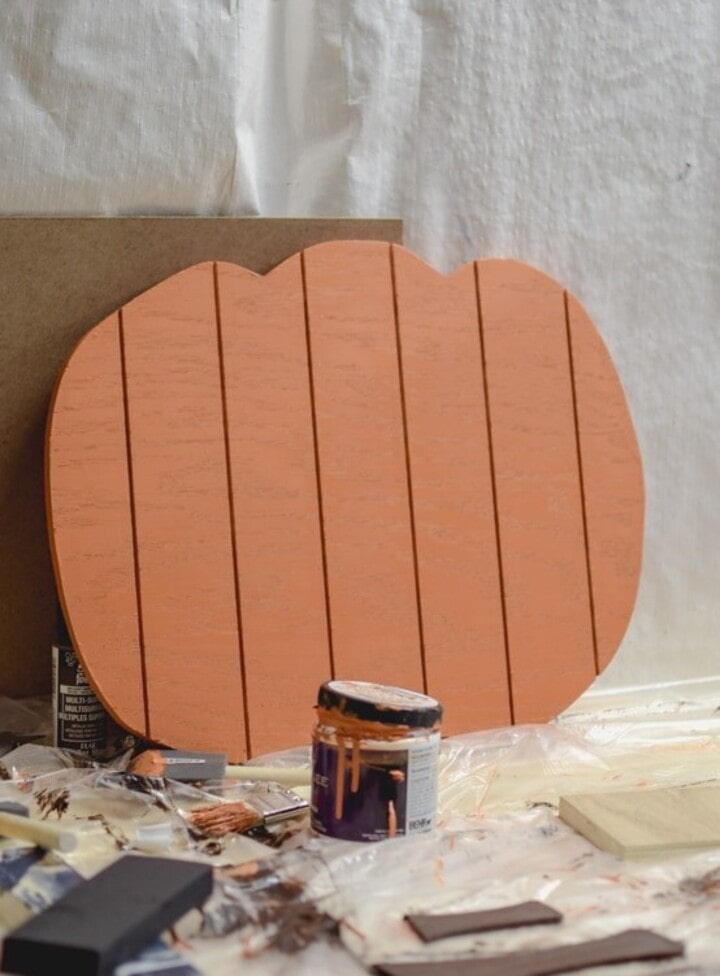
You will also need these tools:
- A chop saw for precise cuts.
- Jigsaw for shaping the wood.
- Hacksaw or wire cutters for trimming the branch.
- A table saw for efficient cutting.
- A nail gun for quick and easy nailing.
- Hammer for traditional nailing.
- Sander to create a smooth finish on the wood.
- A drill for assembling the pieces together.
>>>> READ NOW: How to store Thanksgiving leftovers: The ultimate guide
2. How to make pumpkins out of wood
Utilizing a jigsaw and a scroll saw, I crafted a set of three wooden pumpkins, each varying in height and width. Additionally, I created a few stems and leaves to complement them. This project exemplifies how to make pumpkins out of wood, offering a unique and charming addition to any autumn decor.
2.1 Gathering scrap wood
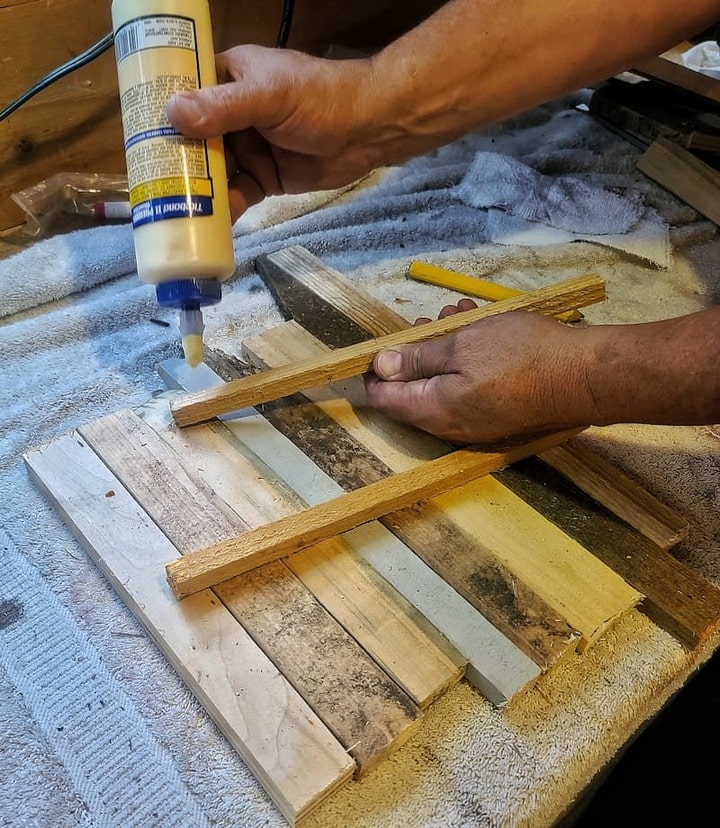
Begin your project on how to make pumpkins out of wood by collecting some old 1″ x 2″ wood scraps. Ideally, you can use wood that has gained a unique character from being stained with dirt and water, perhaps from a garden setting. Arrange these wood strips on a flat surface to form the basic size and shape of your pumpkin.
>>>> LEARN MORE: How to store a pumpkin pie: Tips for keeping it long lasting
2.2 Cut and glue, nail support boards
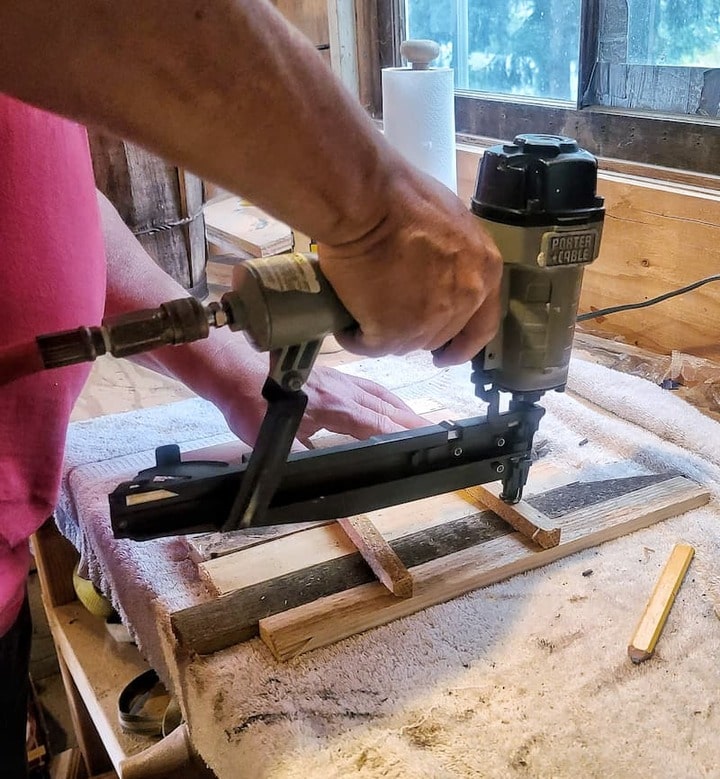
To start your project on how to make pumpkins out of wood, first cut two strips of wood, each measuring 1-1/2″ x 3/4″, ensuring they extend slightly beyond the pumpkin’s width. Next, attach these support boards to the rear side of your wooden pumpkin strips using glue. For additional stability and to hold the boards in place as the glue sets, use a nail gun to secure the support boards to the pumpkin strips.
2.3 Draw and cut out the pumpkin shape
Begin your crafting process by sketching the outline of your pumpkin directly onto the front side of the wood strips. This step is crucial for creating pumpkins made out of wood. After the pumpkin shape is drawn, use a hand-held jig saw to meticulously cut along the pattern you’ve outlined. This careful cutting will bring your wooden pumpkin to life.
2.4 Sand the edges
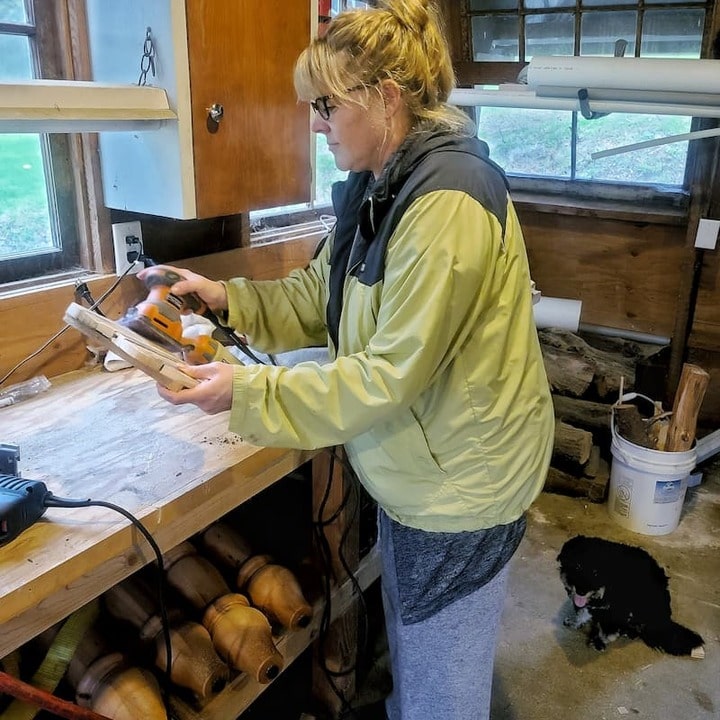
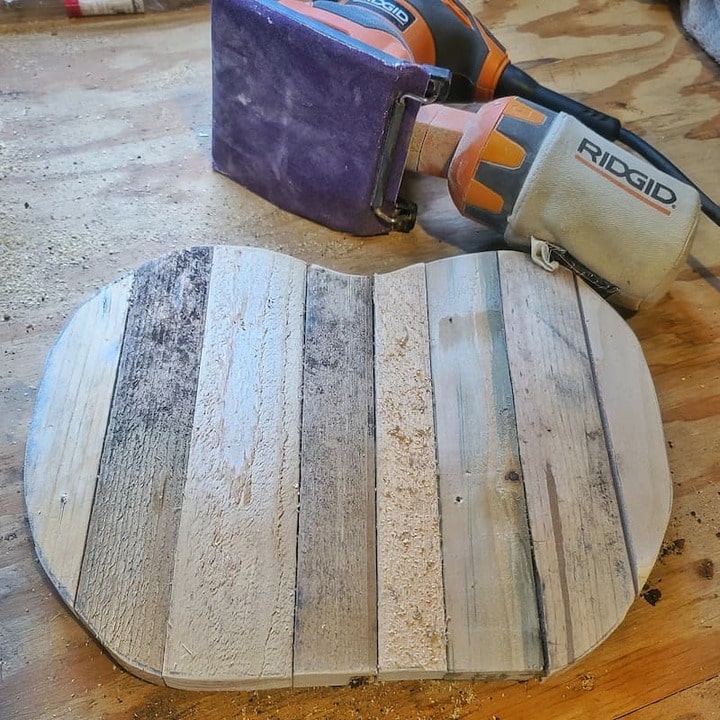
When crafting pumpkins out of wood blocks, you have the option to either embrace the natural, rough, and rustic sides of the blocks or, alternatively, you can lightly sand the edges to smooth out any rough spots or burrs.
2.5 Construct a wooden stand
When making pumpkins out of wood, start by crafting a stand. This can be done by slicing off the end of a 2″x 4″ board. Make sure your cut is at a 45-degree angle, aiming for a length of about 1-3/4″ from the end of the board.
2.6 Glue and nail stand
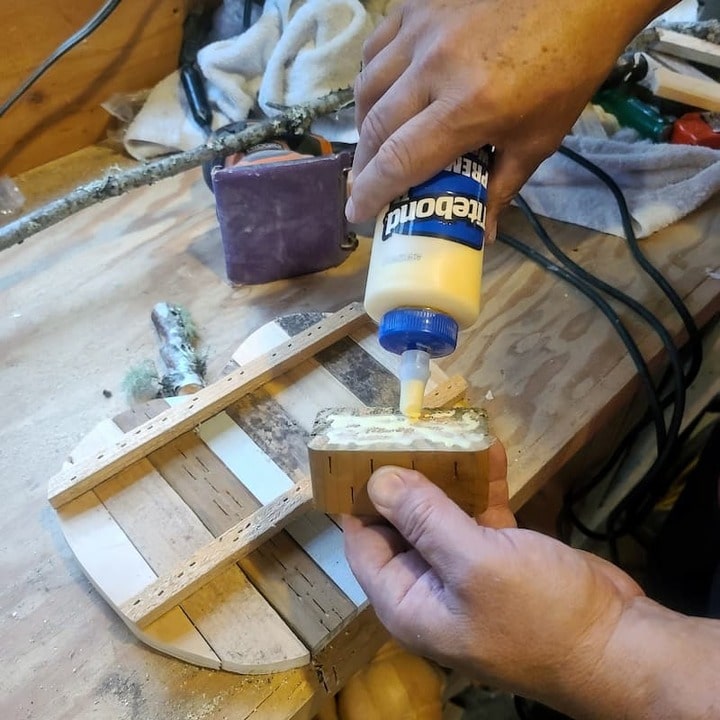
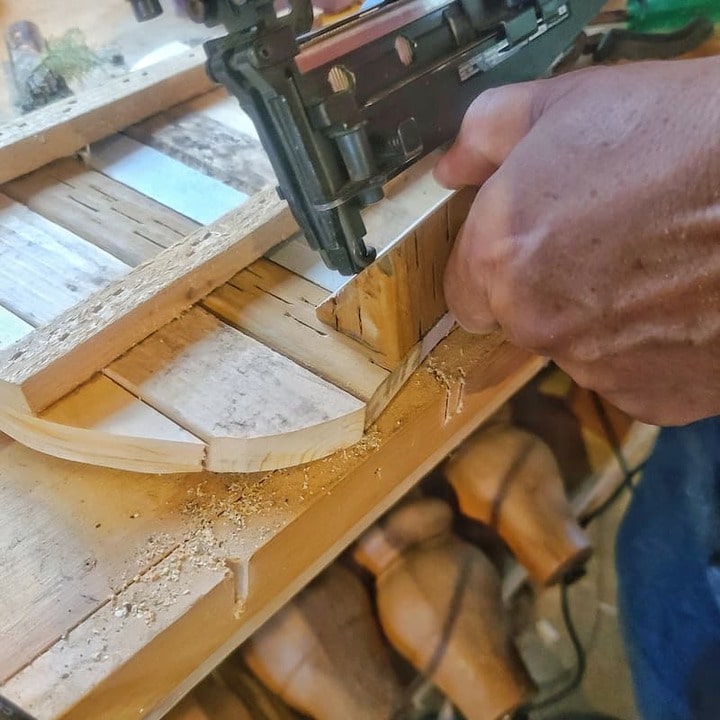
To ensure your wooden pumpkin stands upright as part of your how to make wooden pumpkins project, start by applying wood glue to the base or stand. Carefully position this stand on the backside of the pumpkin. To reinforce this attachment and guarantee stability while the glue dries, use a nail gun to firmly secure the stand to the pumpkin. This step is crucial for ensuring that your pumpkin decoration maintains its shape and stands steadily.
2.7 Creating stems by drill screw
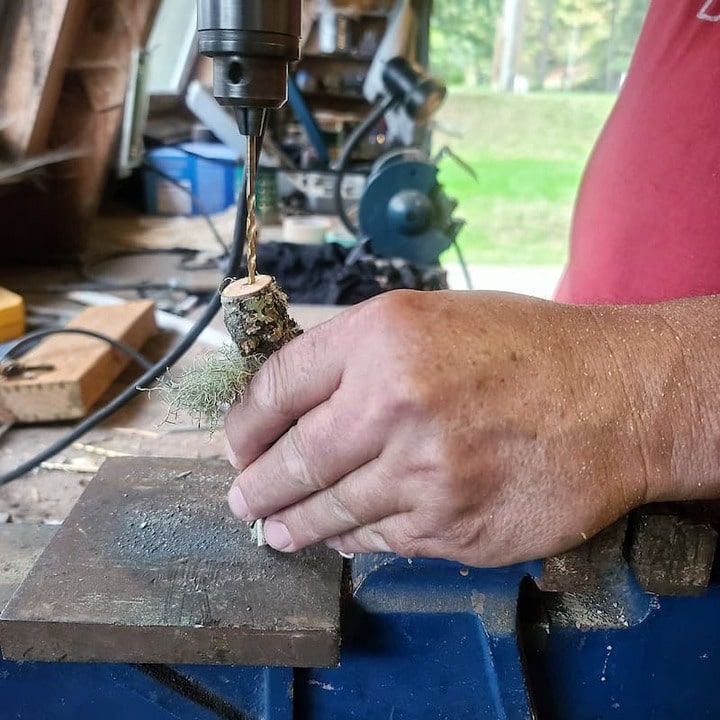
For your wood pumpkin project on how to make pumpkins out of wood, let’s a suitable tree branch from your yard. This branch will serve as the stem for the top of your wooden pumpkin. Feel free to cut it to any size that matches your design vision.
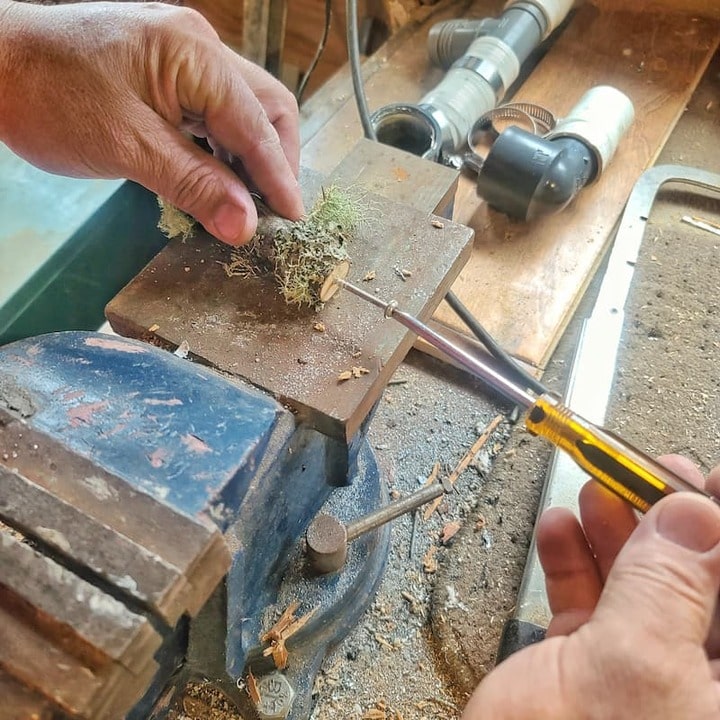
2.8 Drill a stem hole in the pumpkin
Drill a 1/8-inch hole in the center of the tree trunk.
2.9 Attach stem to pumpkin
When constructing wooden pumpkins, a key step in how to make pumpkins out of wood, it’s essential to first drill pilot holes in the back. This precaution prevents the plywood from splitting. To assemble the various elements like stems and leaves, we opted for exterior screws. While wood glue is an alternative, we preferred using screws for their added flexibility, especially if you decide to reconfigure the design in the future. For a precise assembly, I advise using clamps to secure the pieces in place and marking the spots for drilling beforehand.
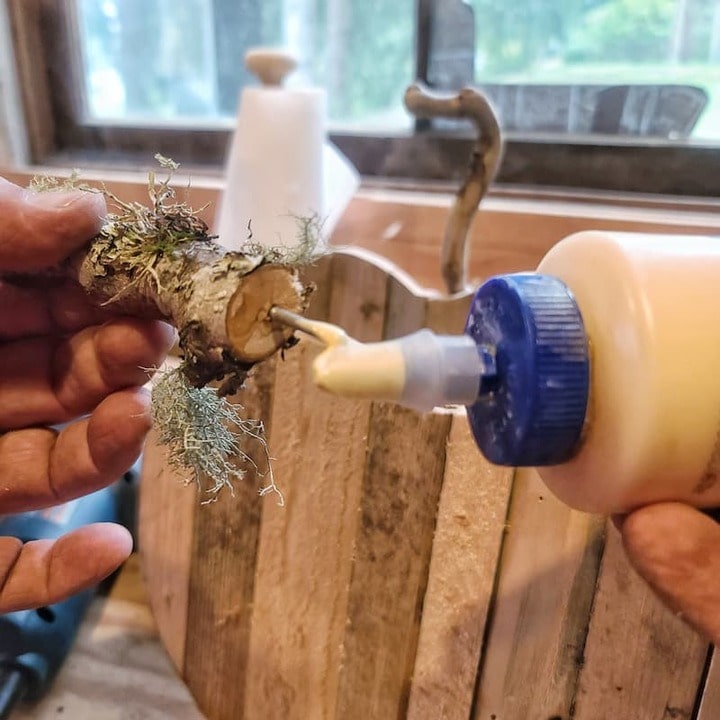
Important tip: Ensure the screws are of a suitable length to avoid them protruding through the pumpkin’s front, unless you’re aiming for a jack-o-lantern effect!
2.10 Attach brackets to backs of pumpkins
When crafting pumpkins out of wood, securing them is a key step. Attach two sets of pipe brackets to the back of each wooden pumpkin cutout for stability. Then, thread stakes through the brackets and firmly hammer these stakes into the ground to anchor your wooden pumpkins.
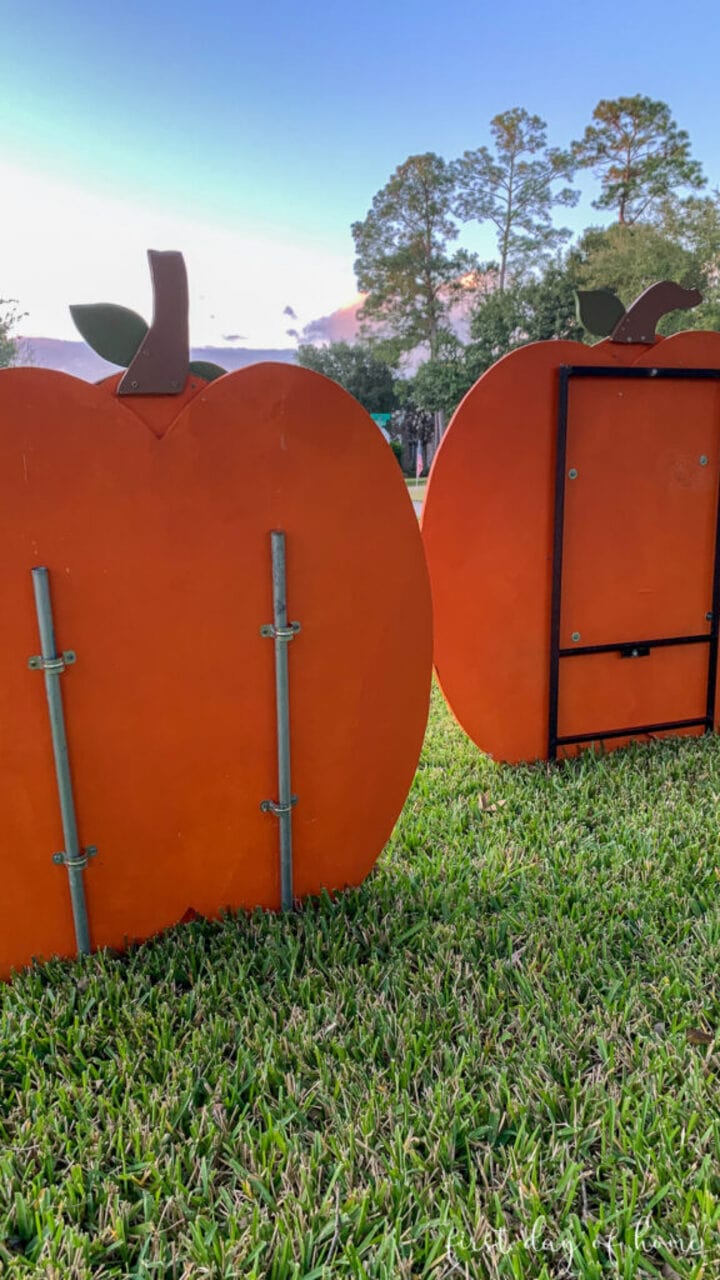
In our setup, we’ve also creatively repurposed a realtor frame for one of the pumpkins by fastening it to the back. For the rest of the pumpkins, pipe brackets have proven to be highly effective. It’s important to ensure that the brackets provide just enough flexibility for the pipe to move slightly.
3. Related questions about how to make pumpkins out of wood
TeeNavi will answer some questions of many people when looking for pumpkins made out of wood.
3.1 Which wood is best for making DIY pumpkins?
When embarking on the project of how to make pumpkins out of wood blocks, especially rustic DIY reclaimed wood ones, selecting the right type of wood is crucial for both the aesthetic and longevity of your creation. Let’s explore some popular wood types for these DIY endeavors:
- Pine, known for its affordability and availability, is a top pick. It’s user-friendly for crafting and can be easily stained or painted for your preferred look. Keep in mind, pine is softer and may be prone to dents and scratches compared to harder woods.
- Cedar stands out with its natural resistance to decay and insects, making it ideal for outdoor projects. Its attractive grain patterns lend a charming, rustic touch to any decorative piece.
- Poplar, a lightweight yet sturdy hardwood, is another excellent choice. It works well with both paint and stain, perfect for those seeking a smooth, refined finish.
- Oak, a robust hardwood, excels in outdoor durability. Its distinct grain pattern adds a traditional, rustic charm to the pumpkin design.
- Maple, valued for its density and durability, offers a lighter color palette. It’s adaptable to various stains and finishes, allowing for a personalized touch.
- Birch, a fine-grained hardwood, is a favorite in craft circles. It’s pliable and takes to staining or painting well, offering a range of finish possibilities.
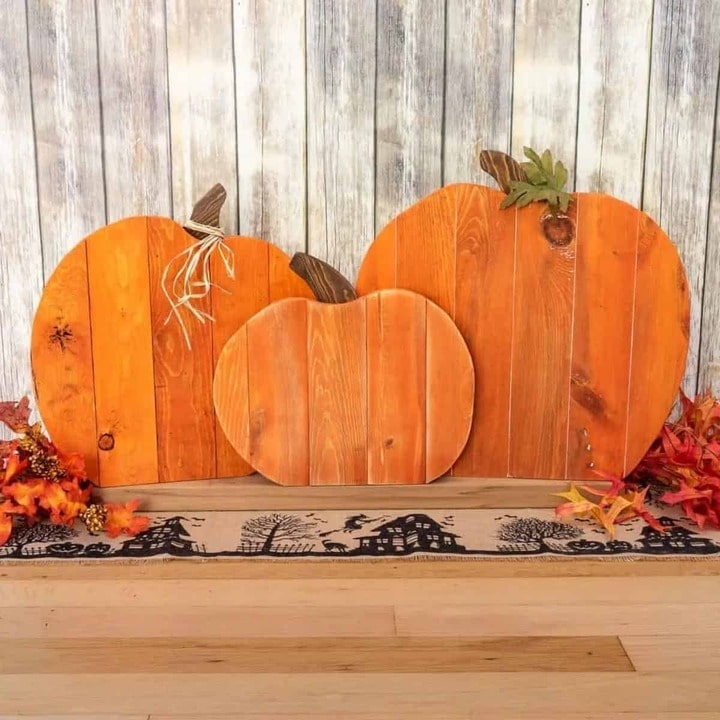
3.2 What is the best way to make a pumpkin cutout?
When embarking on how to make wooden block pumpkins, the first step involves outlining your pumpkin design on the wood. Once your design is in place, use either a jigsaw or a coping saw to meticulously follow the traced shape. It’s crucial to prioritize safety during this process, so make sure to wear safety goggles and a mask. These protective gears are essential for shielding your eyes and respiratory system while you cut the wood.
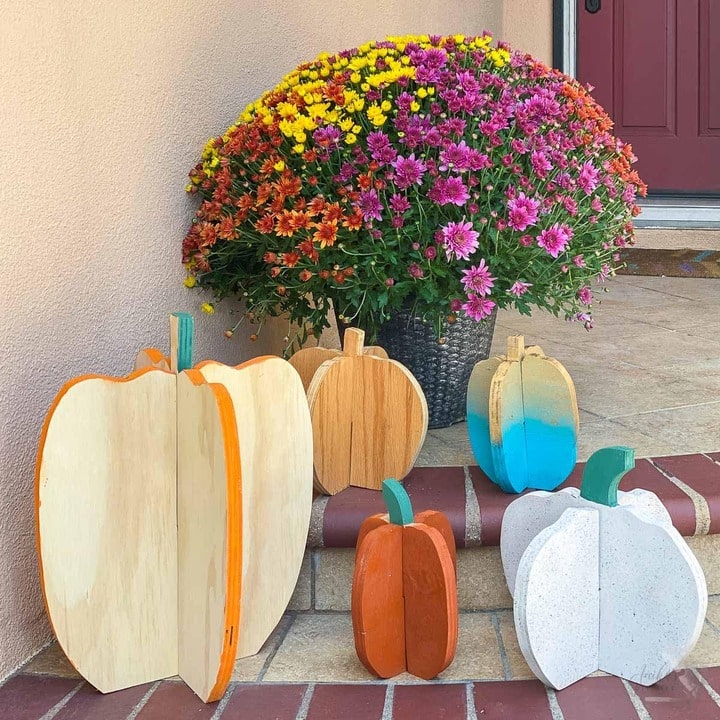
As we conclude this DIY guide on how to make pumpkins out of wood blocks, shared with you by TeeNavi, we hope that the process has sparked your creativity and will bring a rustic charm to your home decor. The steps we’ve outlined are designed to be straightforward and enjoyable, allowing even beginners to successfully create a festive autumnal display. Remember, the beauty of DIY is in the personal touch you add, so embrace the imperfections and make each wooden pumpkin uniquely yours. Happy crafting!
>>>> RELATED TOPIC: 30 Unique happy Thanksgiving gifts that stand out from the crowd




I’m Jennifer Tran, a helpful staff member at TeeNavi. My expertise lies in providing valuable advice on gifts and experiences for special occasions such as Halloween, Christmas, and Thanksgiving. I enjoy suggesting memorable experiences, thoughtful ideas, and unique gifts. As a dependable and supportive colleague, I’m always ready to lend a hand when it comes to selecting gifts for holidays.
Related Posts
How To A Make Turkey Stock From Leftovers: Try It Now
To master the art of how to make a Turkey stock, begin by saving your...
Dec
How To Store A Pumpkin Pie: Tips For Keeping It Long Lasting
For those who primarily bake fruit pies, understanding how to store a pumpkin pie overnight...
Dec
How To Store Thanksgiving Leftovers: The Ultimate Guide
Are you not sure how to store Thanksgiving leftovers properly? Are you wondering how long...
Dec
DIY How To Make Fabric Pumpkins With 8 Easy Steps
Thanksgiving fabric pumpkins are a very popular decorating idea that not only creates a cozy...
Dec
25+ Unique And Easy DIY Thanksgiving Decorations Ideas
Decorating yourself helps you express your creativity and enjoy the process of creating something special...
Dec
25+ Easy Thanksgiving Crafts For Preschoolers Free
Let’s prepare to enjoy the season of gratitude and togetherness with a delightful selection of...
Dec