Christmas Ideas
DIY Christmas Doormat With 5 Easy Steps For You
A welcoming doormat is one of the first things guests notice when they step into your home. So, why not greet them this season with a festive DIY Christmas doormat? This do-it-yourself project is not only a fun way to express your holiday spirit, but it also adds a personal touch to your home’s entrance. By creating a custom Christmas doormat, you can choose designs that match your holiday decor and showcase your unique style. TeeNavi thinks it’s an excellent opportunity to make a warm, inviting first impression this holiday season.
1. Materials You’ll Need
Before getting into the step-by-step instructions, I want to share some tips for choosing the right material:
- Coir doormat: Select a coir doormat for your DIY Christmas doormat project. Coir, derived from coconut husk, is an excellent natural fiber that ensures durability.
- Spray paint: Choose spray paint suitable for the material of your doormat and the outdoor environment.
- Large letter stencils: The size of the stencils depends on the phrase you want to create. For instance, 8-inch capital letter stencils were used here, but you have the flexibility to select any size and even opt for lowercase letters.

>>>> REFERENCE NOW: How to decorate a balcony for Christmas: Check this 25 ideas
2. Easy DIY Christmas doormat
In keeping with the festive spirit of the season, this week I’m excited to share an easy holiday project with you – a super simple DIY Christmas stencil doormat. This do-it-yourself craft is not only fun to make but also adds a personalized touch to your holiday decor. Perfect for welcoming guests during this merry time!
2.1 Step 1 – Get your doormat
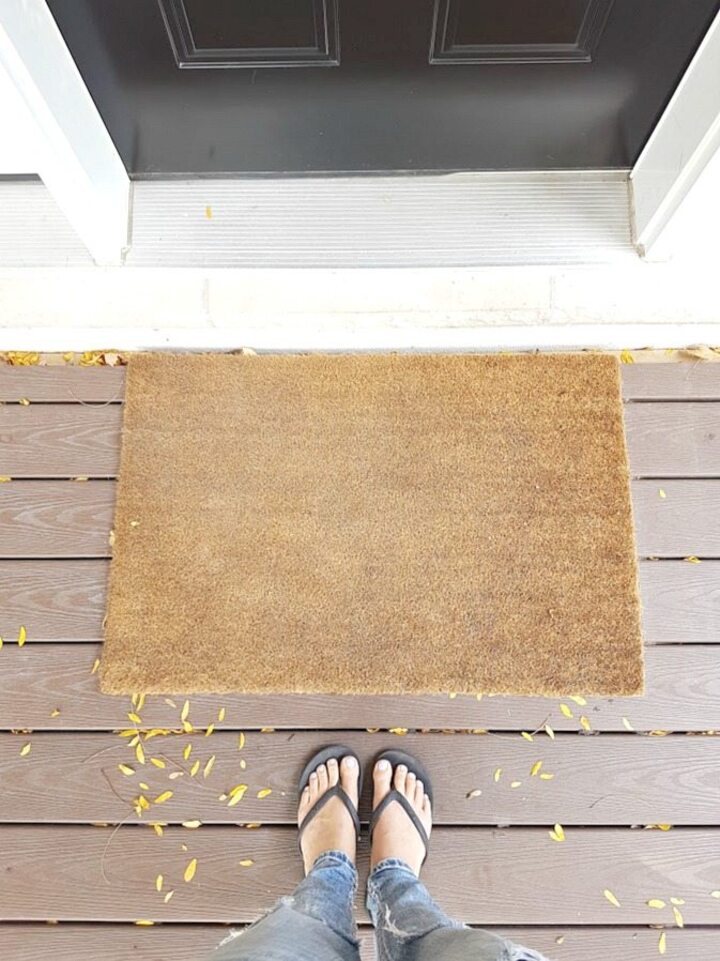
Begin with your coir doormat, which can be an existing one you’ve had for a while. In our case, we had been using ours for several months before starting this DIY Christmas doormat project. The key first step is ensuring it’s thoroughly cleaned. I made sure to remove all leaves and dirt, providing a clean, blank slate as a starting point for our festive creation.
>>>> LOOKING FOR MORE: How to string lights on a Xmas tree: Easy Step-to-step guide
2.2 Step 2 – Determine and attach your stencil
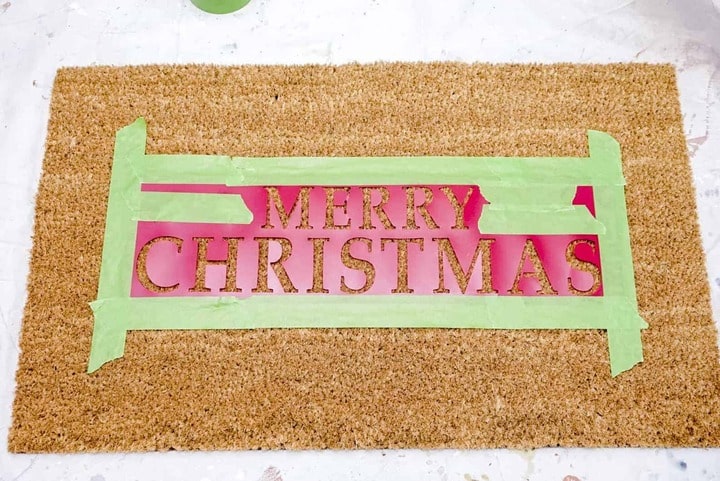
Next step up your DIY Christmas doormat project by firmly securing your stencil onto the doormat using painter’s tape. A crucial tip to remember is to ensure that the stencil is completely flat against the mat before you start painting. Next, cover the surrounding areas of the mat with newspaper or old flyers, completely masking the exposed sections of the doormat. This step is vital to prevent any accidental paint spray from tarnishing the uncovered parts of the mat. Although I didn’t capture a photo of this step, you’ll see its importance in the following stage of the project.
2.3 Step 3 – Paint your doormat
Creating a DIY Christmas stencil doormat can be a delightful and personalized way to welcome guests during the holiday season. You positioning your stencil, which should include the festive greeting ‘Merry Christmas’ and a pair of holly sprigs, directly on the doormat. Hold your spray paint can about 12 to 18 inches away from the mat for an even application.

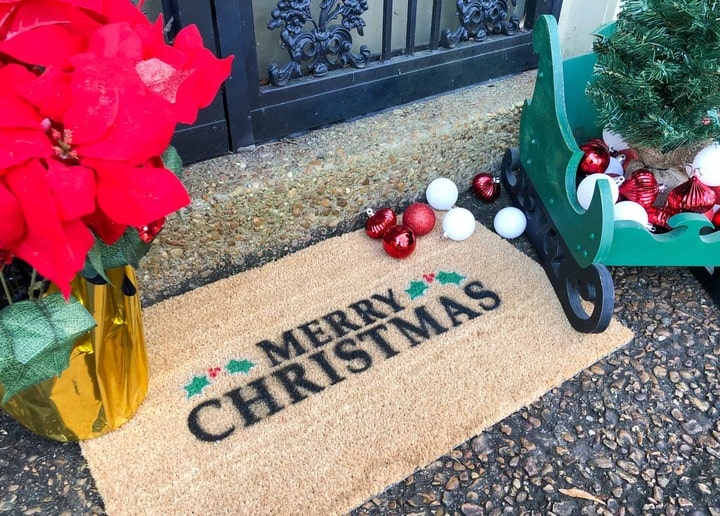
You can cover the holly design with tape to focus on spraying the ‘Merry Christmas’ text in black. Once the paint dries, carefully uncover the holly berries and apply red paint, ensuring the already painted words are covered to avoid overspray. Finally, follow the same procedure for the green paint on the holly leaves. This step-by-step approach ensures each element of your DIY Christmas stencil doormat is crisply and beautifully rendered.
>>>> LEARN MORE: 10+ easy how to make a Santa ornament for Christmas
2.4 Step 4 – Apply a protective finish (optional)
The next step in completing your project is to apply a layer of clear acrylic spray paint over the entire mat. This coating not only seals the mat but also provides waterproofing, ensuring durability and longevity. By doing this, you’re protecting your creation from the elements and wear, making it ideal for both indoor and outdoor use. This simple yet effective measure guarantees that your mat stays vibrant and functional for a long time.
2.5 Step 5 – Let dry your doormat
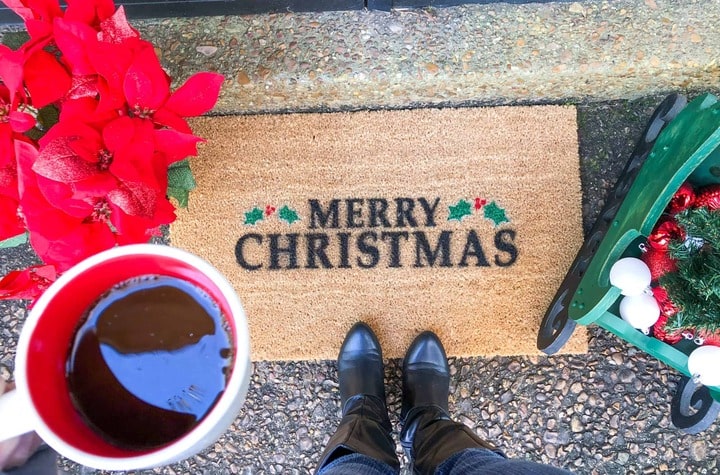
After painting my DIY Christmas doormat, I allowed it to sit undisturbed for 24 hours to ensure it was fully cured before we began using it again. Although the paint felt dry to the touch in roughly 20 minutes, I preferred to wait longer to be certain that it had completely set. This extra time helps to prevent any paint from smudging or coming off when the doormat is put to use.
3. FAQs about DIY Christmas doormat
I’ve collected some DIY inspiration for Christmas and Winter doormats that are vibrant and full of color. These simple yet festive Holiday doormats could be the perfect craft project for your next adorable Holiday creation.
3.1 Which is the best paint for painting doormats?
When creating a DIY Christmas stencil doormat, choosing the right materials is crucial for both durability and aesthetics. Outdoor paints are an excellent choice due to their affordability and wide color variety. They offer versatility for those looking to add a splash of color to their doormat designs.
However, for enhanced durability, especially for a doormat that will endure frequent foot traffic, Flex Seal is a superior option. Its resilience surpasses that of regular paint, an essential feature for doormat longevity. The downside is its higher cost, about $15 per can, and its more limited color selection.
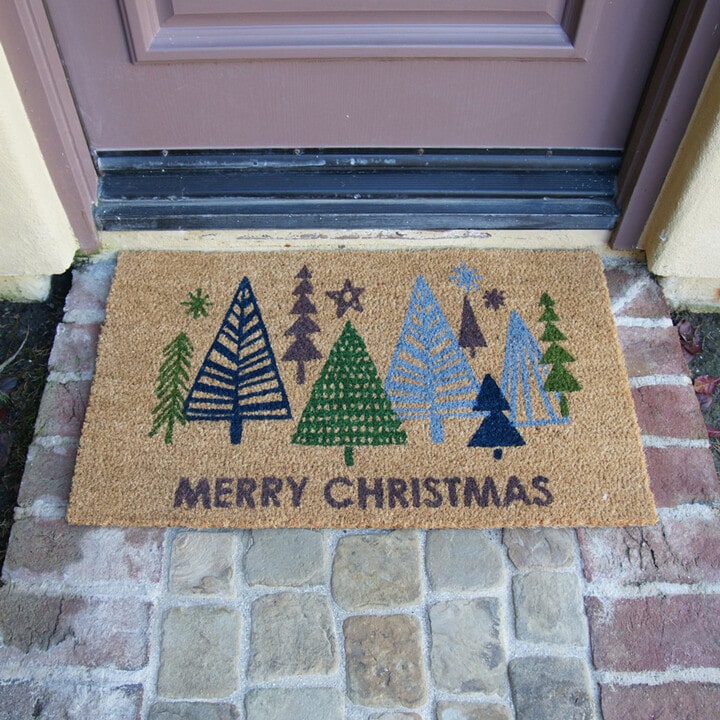
For a classic doormat design with traditional black lettering, a black Flex Seal is ideal. But if your vision includes vibrant or multiple colors, like in many DIY Christmas stencil doormats, I suggest opting for outdoor paint. To ensure longevity and protection from the elements, finishing your doormat with a high-quality sealer is a wise decision.
3.2 Can vinyl stencils be reused?
For stenciling a DIY Christmas doormat, I strongly suggest opting for a reusable stencil rather than a vinyl one. Reusable stencils offer significant benefits due to their thicker plastic composition. They maintain their shape excellently and offer the convenience of being stored and used multiple times.

On the other hand, the primary advantage of a vinyl stencil is its adhesive side, which can stick directly to the surface you’re working on. This feature is particularly handy as it keeps the stencil firmly in place while you apply your design, ensuring precision and ease during the creative process.
3.3 How to paint coconut fiber carpet?
Looking to add a personal touch to your holiday decorations? Consider creating a DIY Christmas doormat, primarily through the art of painting. Whether you choose to use stencils or embrace free-hand painting with brushes or foam applicators, the process can be both simple and rewarding. Here are a few tips to kickstart your DIY Christmas doormat project:
- For a unique approach, try using plastic bottles with a tip (a hole at the top) or paint-pour squeeze bottles to freehand your design.
- Before you begin painting, outline your design with a pen or dark pencil for precision.
- For fine, straight lines, a small brush will be your best tool.
- Create the perfect paint consistency by mixing 80% acrylic or any water-based paint with 20% water. This helps the paint flow smoothly, avoiding globs.
- Don’t stress over minor imperfections; coir rugs, a common material for doormats, absorb paint well, which can mask small mistakes.
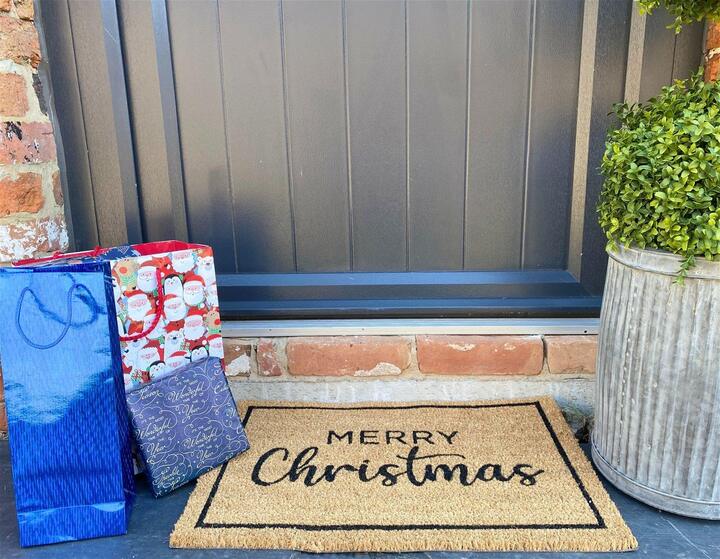
Consider creating a DIY Christmas doormat to bring joy to your guests right at the doorstep this holiday season! Nothing is more delightful than spreading cheer to family and friends with a homemade touch. TeeNavi has compiled a collection of Christmas and winter-inspired doormat ideas that are bright, colorful, and sure to captivate. You’ll find designs ranging from bold and modern to classic holiday styles. These easy-to-make holiday doormats could be your next adorable craft project for a festive look. However, if crafting isn’t your thing, there are plenty of stunning doormats available for purchase that can still bring that special holiday spirit to your home!
>>>> RELATED TOPIC: 20 Christmas 2023 decor trends will make your home look stylish




I’m Jennifer Tran, a helpful staff member at TeeNavi. My expertise lies in providing valuable advice on gifts and experiences for special occasions such as Halloween, Christmas, and Thanksgiving. I enjoy suggesting memorable experiences, thoughtful ideas, and unique gifts. As a dependable and supportive colleague, I’m always ready to lend a hand when it comes to selecting gifts for holidays.
Related Posts
10+ Easy How To Make A Santa Ornament For Christmas
How to make a Santa ornament can be a delightful addition to your holiday crafting....
Dec
How to string lights on a Xmas tree: Easy Step-to-step guide
Another Christmas season is coming, are you still struggling with how to decorate your tree?...
Dec
How To Decorate A Balcony For Christmas: Check This 25 Ideas
When figuring out how to decorate a balcony for Christmas, consider using string lights, garlands,...
Dec
30 simple DIY Christmas front door decor ideas for modern touch
After you’ve finished decorating your tree, take your holiday spirit outdoors to adorn your front...
Dec
How To Make A Dried Orange Garland: 5 Easy Steps
I enjoy incorporating natural elements into my holiday decorations! Creating a dried orange garland adds...
Dec
How To Make Dried Orange Slices For Christmas Decorations
Dried orange slices can be a delightful and versatile addition to your home. Not only...
Dec