Christmas Ideas
How to string lights on a Xmas tree: Easy Step-to-step guide
Another Christmas season is coming, are you still struggling with how to decorate your tree? Or are you almost done but don’t know how to string lights on a Xmas tree that’s beautiful and sparkling? So, our following article is the perfect idea for you! Your beautiful Christmas tree, whether fake or real, flocked or natural, is the center of attention during the holidays. Hanging string lights will help your tree sparkle and stand out. So, let’s explore simple ways to hang string lights with TeeNavi through the following article!
1. What You’ll Need
With how to string lights on a Xmas tree that we are about to introduce to you, you need to prepare the following items:
- Christmas lights (A good rule of thumb is to buy 100 lights for every foot of the tree, but you can add more or use fewer lights to achieve the desired look).
- A ladder
- Green floral wire or tape is your choice
- An extra hand or two

>>>> DON’T MISS OUT: How to dress up as Santa Claus at Christmas with 6 steps
2. Some notes before you get started
To make the process of how to string lights on a Xmas tree go easily and smoothly, here are 3 notes you need to remember:
2.1. Make sure your lights are working
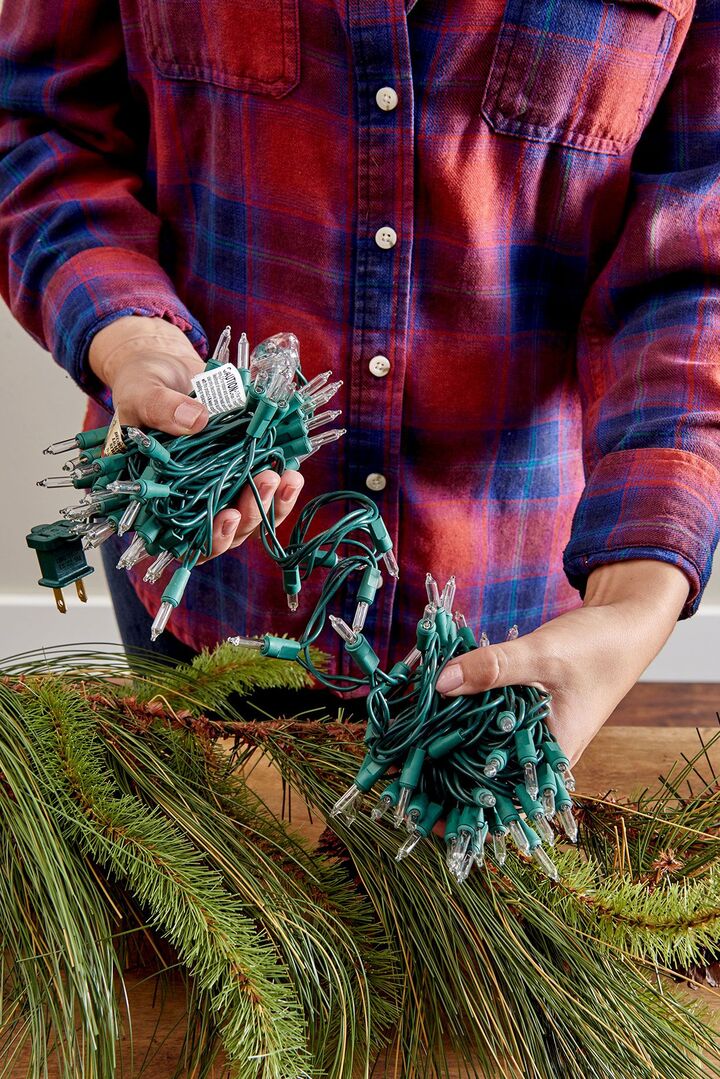
The first note before you apply how to string lights on a Xmas tree is to remember to check if your lights are working or not. Nothing is worse and more frustrating than after stringing your lights perfectly, you discover that they are the deadset you intended to throw away last year. Therefore, to avoid this, you need to check to make sure all of the lights are turned on when you plug them in before putting them on the tree.

Besides, we also recommend leaving them on while you work. Because you can see how they look on the tree. From there, you can easily determine if the plug will fit into the socket when you’re finished.
>>>> LEARN MORE: 10+ easy how to make a Santa ornament for Christmas
2.2. Check your power source
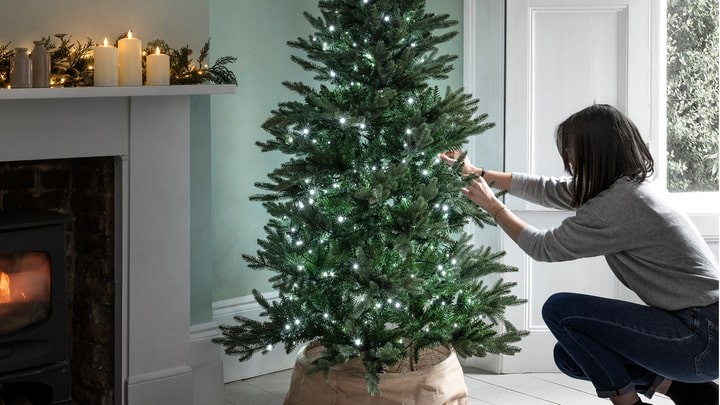
A second important note when following how to put lights on a Christmas tree that you should not ignore is to check the safety of the power source in the house. Connecting multiple strands of Christmas lights can be hazardous and cause you bad luck if the circuits short out or overload. Therefore, you should pay attention to installing a ground fault circuit interrupter (GFCI) device to protect yourself from electrical shocks.
2.3. Track how many strands connect
The last thing you need to pay attention to is to keep track of how many light strings are connected. A general rule that you should refer to is that you should connect no more than 20 5mm bulb strands back-to-back. Most 8- and 9-foot trees only require six to eight 50-bulb strands. If you use more than 20 strands, you should equip a tri-tap connector at the base of the tree to plug more than one run into. Remember this important note when making how to string lights on a Xmas tree!
>>>> LOOKING FOR MORE: 25 festive and fun office party Christmas games to play in 2023
3. How to string lights on a Xmas tree horizontally
We come to instructions on how to decorate lights horizontally! It’s time to light your tree after you’ve chosen your lights, prepared the real or artificial tree, and determined how many lights you’ll need. Follow our detailed instructions for how to string lights on a Xmas tree below!
3.1. Step 1: Untangle and test Christmas lights before placing them on the tree.
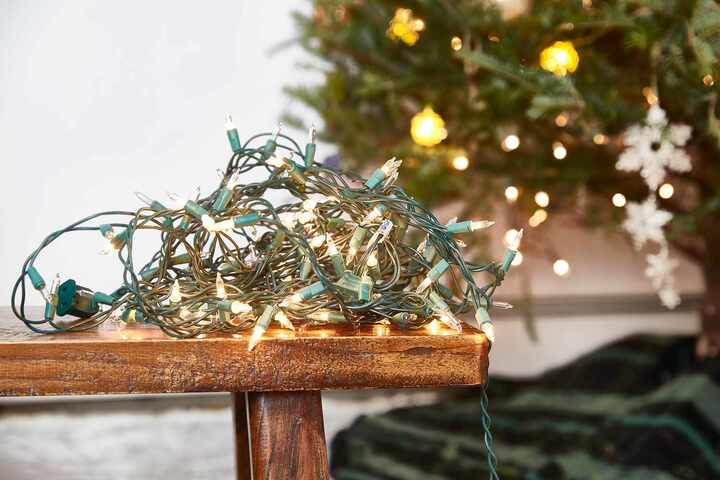
The first step in how to string lights on a Christmas tree is to untangle the lights and loop them into an easily unrolled coil. If you’re not in the habit of coiling and storing your lights each year, this can be a challenge. Along with that, before hanging your Christmas lights on the tree, always make sure they are operational. It’s much simpler to test the lights and replace any burned-out bulbs at the start of the process than it is to replace the bulbs while standing on a stepladder atop an eight-foot tree.
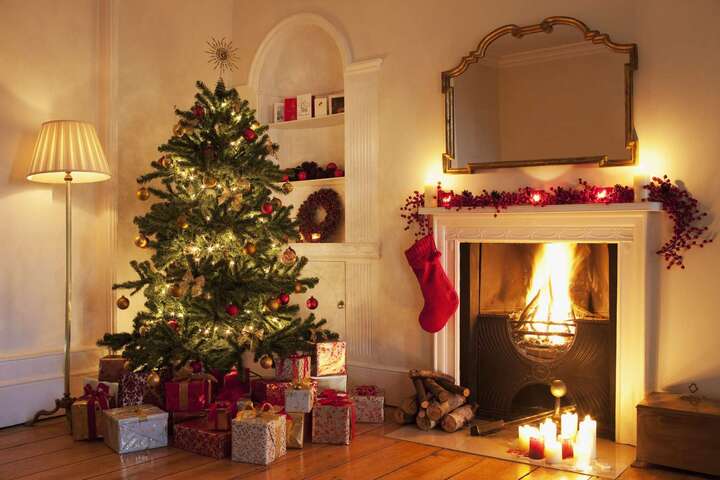
For the best indication of the bulb spacing, leave the Christmas lights on while you hang them. It’s also unnecessary to rewrap the tree or add an extension cord. Because if the lights are plugged in, you already know that the cord reaches the power outlet.
3.2. Step 2: Start at the base of the tree and work your way up.
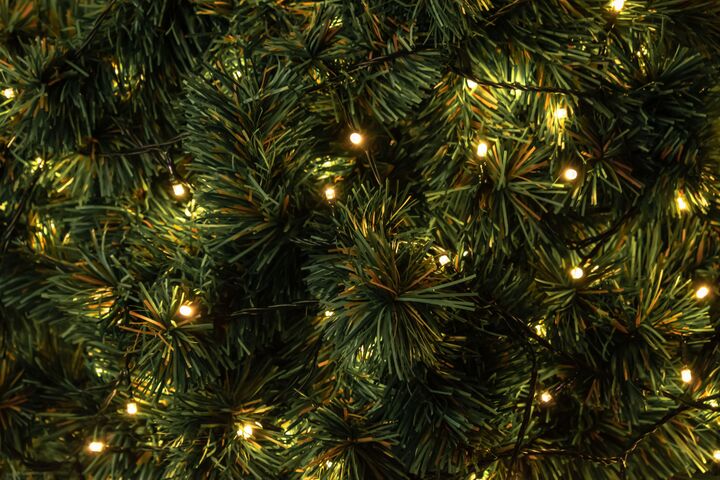
With the second step on how to string lights on a Xmas tree, you will start at the bottom of the tree, weaving the lights in a gentle S shape over and under lower branches. String them around the tree like a maypole, continuing to weave around the branches in an S shape. Take your time with this part and take regular breaks to look at the tree. Lights that are evenly spaced always look better and it’s easier to make adjustments as you place the Christmas lights rather than afterward.

3.3. Step 3: Continue adjusting the Christmas lights and adding additional strings of lights as you go.
When putting up lights on a Christmas tree, hang some near the branch tips and push others toward the inside of the tree. This will create light from within the tree, which draws the eye deeper. As you work your way up the tree, keep repositioning the lights. Besides, when it’s time to add another string of lights, connect it after you’ve finished hanging the current string of Christmas lights. If you connect all of the strings at the start, wrapping them around the tree becomes difficult.

If you have any extra lights at the top, wind them back down the tree or adjust the lower lights to ensure the string of lights ends at the top. After you’ve hung the Christmas lights, make any necessary adjustments before adding ornaments or other decorations. That is all you need to do in the final step of how to string lights on a Xmas tree.
4. How to put lights on Christmas tree vertically
Vertically arranging Christmas lights on a tree saves time and makes removal easier. Also, vertical wrapping reduces light overuse because fewer bulbs are required to achieve the same effect as horizontally strung lights. So, how do you put lights on a Christmas tree vertically? Let’s explore together!
4.1. Step 1: Decorate one-third of the tree at a time
The first step in how to string lights on a Xmas tree vertically is very similar to the first step in hanging lights horizontally. You need to plug in the Christmas lights to check if it is still working or not. If not, replace any burned-out or broken bulbs. Then don’t forget to coil the light strings in coils that unravel easily. Additionally, keep the lights plugged in as you position them on the tree so you can see and adjust them as you go. Finally, you should divide the tree into three sections (or more if it’s a larger tree) and you’ll only be adding lights to one at a time.

4.2. Step 2: String the lights in an upside-down V shape.
Let’s come to the second step in how to string lights on a Xmas tree vertically! Let’s string the lights in an upside-down V shape (or triangle) starting from the bottom branches to the section of the first area you want to fill with lights. Then, it’s just a matter of zigzagging the lights from one end of the section to the other (vertically or horizontally). To save time, make the Vs narrower and avoid zigzagging more lights between them. Push some lights into deeper branches to add more dimensions.

Once the section has been filled in with Christmas lights, it’s simple to make adjustments to space them out. Additionally, you can avoid tangles by adding more light strings as you go.
4.3. Step 3: Add lights to the remaining sections and make any final adjustments.
Similarly, repeat Step 2 to decorate the remaining sections of the Christmas tree with lights. Begin with the upside-down V, then add lights to the branches and adjust the spacing. Besides, when beginning a new section, ensure that the upside-down V blends in seamlessly with the previous section and that there are no areas that are lacking in Christmas lights.

More wires are left at the top of the tree with this technique; however, you can hide them with a nice tree topper. In addition, the ornaments and decorations will also cover up a lot of the wire, so don’t get too caught up in hiding it. You have completed the final step of how to string lights on a Xmas tree!
5. Another way to string your lights on a tree
Besides the two methods of how to put lights on the Christmas tree that we introduced above, you can refer to some other ways below:
5.1. Triangle section
The triangle section is another first method for how to string lights on a Xmas tree! What you need to do is divide hanging tree lights into triangles and weave lights within each triangle. This method takes longer than hanging lights horizontally or vertically, but it’s satisfying to finish sections and move on to the next. Furthermore, you can also easily gauge how much light coverage you have in the section you’re working in.
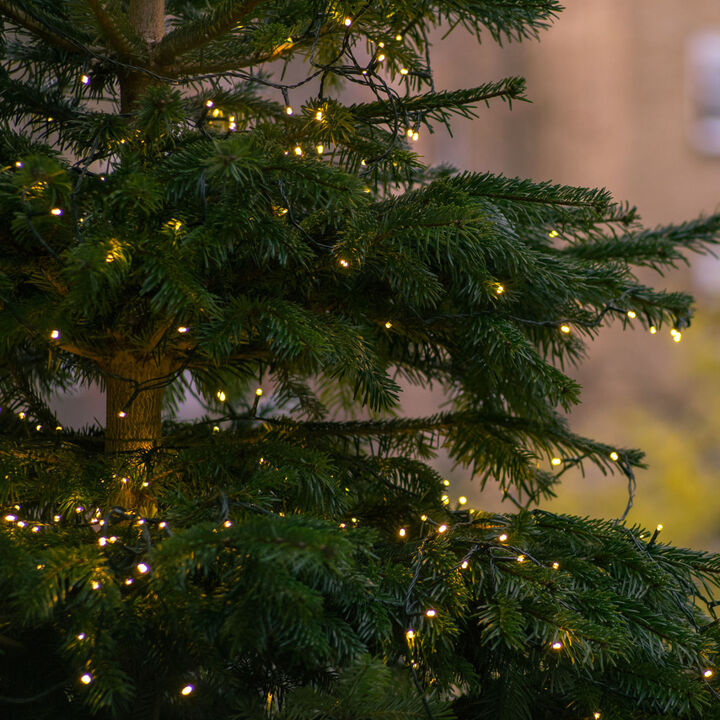
To use the triangle method, you need to divide your tree into three triangles (the number of triangles can vary depending on the size of your tree). Then, with your lights, you can create a triangular outline and weave them within the triangle shape or weave them from top to bottom in a triangle shape. Either way, remember to be careful not to overlap strings. Let’s continue with the other section!
5.2. Branches wrapping
Wrapping individual branches takes the most time of any light-hanging method. However, it produces the brightest tree if that’s the look you’re hoping to achieve. Let’s start to wrap lights around each branch from the inside out, beginning at the bottom. Wrap branches from the bottom to the top of the tree as you move around the tree. This way how to string lights on a Xmas tree packs the tree with lights more densely, keeps the cords in the back, and illuminates it more evenly and brightly. However, wrapping branches will take more time, more light strands, and will be more difficult to remove when the tree is cut down.
5.3. The zigzag
This how to string lights on a Xmas tree is one of the most tried tree light hanging techniques around. You need to do the following:
- Step 1: First, you need to lay the first horizontal row of lights. Start at the bottom of your tree and place your first row at the top of some of its lowest branches. Keep the plug end close to an outlet, you can even plug the strand in while working if you want. Start at the top of your tree and place a pair of lights at the top of some of its highest branches. Then, move from the left to the right side of your tree (or vice versa).
- Step 2: Next, you will lay the second horizontal row parallel to the first. If you lay the first row from left to right, then lay the second row from right to left. This second row will be above the first row if you start at the bottom. Conversely, if you start at the top, the second row will be below the first. This row should be about 3 inches apart from the first.
- Step 3: Repeat. Zigzag your light strand horizontally back and forth across your tree until the entire surface is covered in light. Remember to keep your rows about 3 inches apart.
5.4. The Spiral
Let’s come to another final way for how to hang Christmas tree lights! This method is ideal if you want the lights on your Christmas tree to be as secure as possible. But it is more difficult to apply and remove, so plan on devoting an hour or two to this process.
- Step 1: First, lay out your spiral’s first row. You can begin at the top or bottom of the tree, as with the horizontal zigzag method. The spiral method is especially precarious for lighting the top of your tree, so we recommend starting there. Just make sure the outlet end, not the plug end, is at the top of your light strand. Next, lay your row so that it circles your tree once, but don’t connect the ends of the circle. Because the rows of a spiral are staggered, gently slant your row upward (if you start at the bottom of your tree) or downward (if you start at the top of your tree) as you lay it around the tree.
- Step 2: Afterwards, you need to lay the second row of your spiral. Let’s repeat the same as the first row’s laying motion, keeping your second row approximately 3 inches above or below the first.
- Step 3: Continue repeating and wrapping the light strands around the tree in evenly spaced rows until the entire surface is covered.

The above article gives you how to string lights on a Xmas tree as well as some important notes before you carry out this process. We hope that you will have more useful knowledge to help decorate your Christmas tree for this year’s peaceful holiday season. If you have any questions, please contact TeeNavi as soon as possible!
>>>> RELATED TOPIC: How to decorating with fairy lights for Christmas


I’m Jennifer Tran, a helpful staff member at TeeNavi. My expertise lies in providing valuable advice on gifts and experiences for special occasions such as Halloween, Christmas, and Thanksgiving. I enjoy suggesting memorable experiences, thoughtful ideas, and unique gifts. As a dependable and supportive colleague, I’m always ready to lend a hand when it comes to selecting gifts for holidays.
Related Posts
10+ Easy How To Make A Santa Ornament For Christmas
How to make a Santa ornament can be a delightful addition to your holiday crafting....
Dec
How To Decorate A Balcony For Christmas: Check This 25 Ideas
When figuring out how to decorate a balcony for Christmas, consider using string lights, garlands,...
Dec
DIY Christmas Doormat With 5 Easy Steps For You
A welcoming doormat is one of the first things guests notice when they step into...
Dec
30 simple DIY Christmas front door decor ideas for modern touch
After you’ve finished decorating your tree, take your holiday spirit outdoors to adorn your front...
Dec
How To Make A Dried Orange Garland: 5 Easy Steps
I enjoy incorporating natural elements into my holiday decorations! Creating a dried orange garland adds...
Dec
How To Make Dried Orange Slices For Christmas Decorations
Dried orange slices can be a delightful and versatile addition to your home. Not only...
Dec